Personalized Admission 1.0

Morning :grin:

Well, as the title says, I’m designing and manufacturing a custom intake for my 1.0:

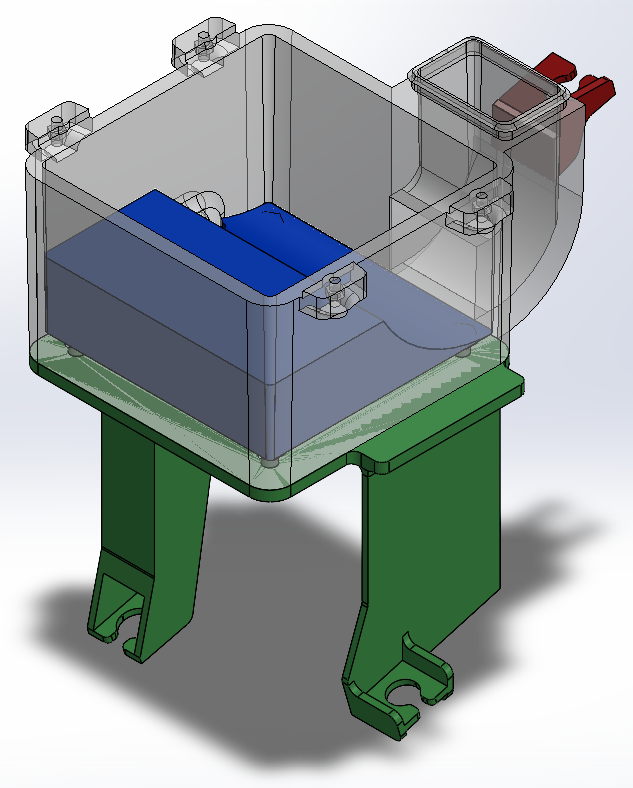
As you can see, it will consist of 4 parts:

  • The box (transparent)
  • The base (green)
  • The ramp (blue)
  • The mount (red)

I’m doing it this way so I can print it efficiently and correctly on my home 3D printer.

As it stands in the previously mentioned image, nothing would change compared to the original 1.0 intake box except for the removal of both resonators; however, my idea doesn’t stop there, and the reason I’m putting in this effort is the following:

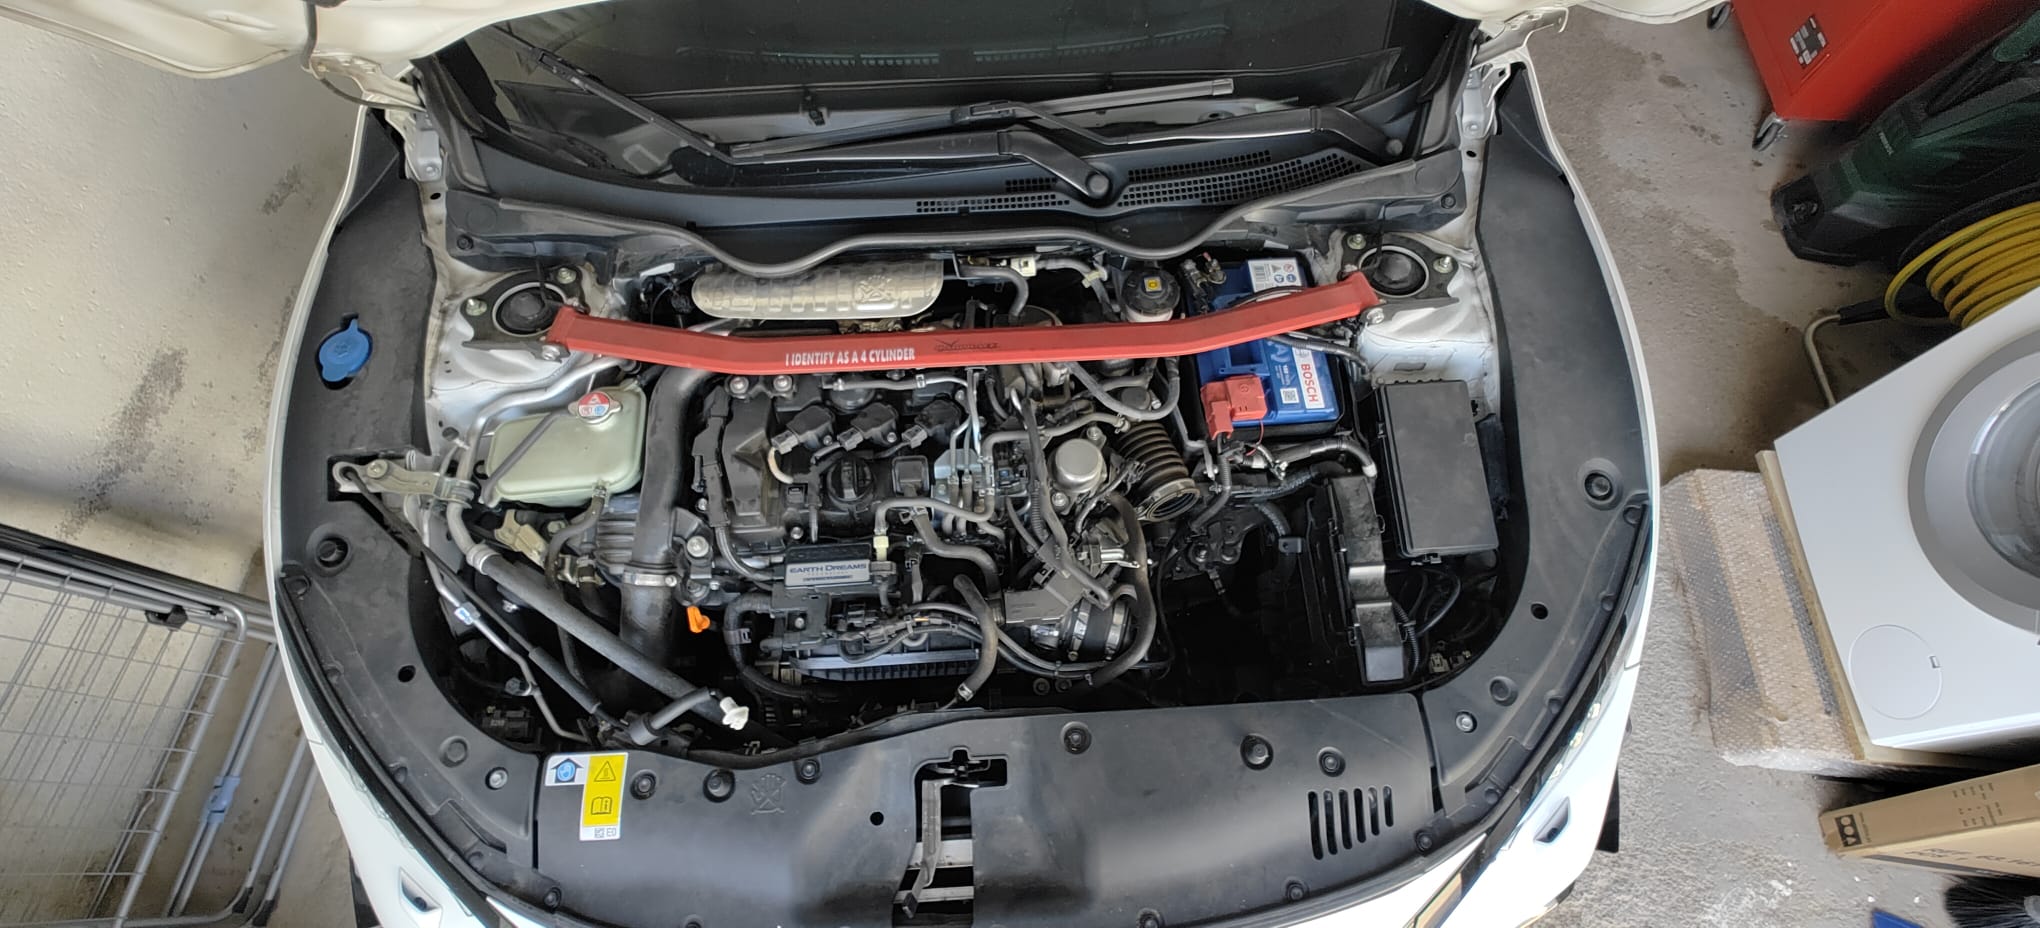
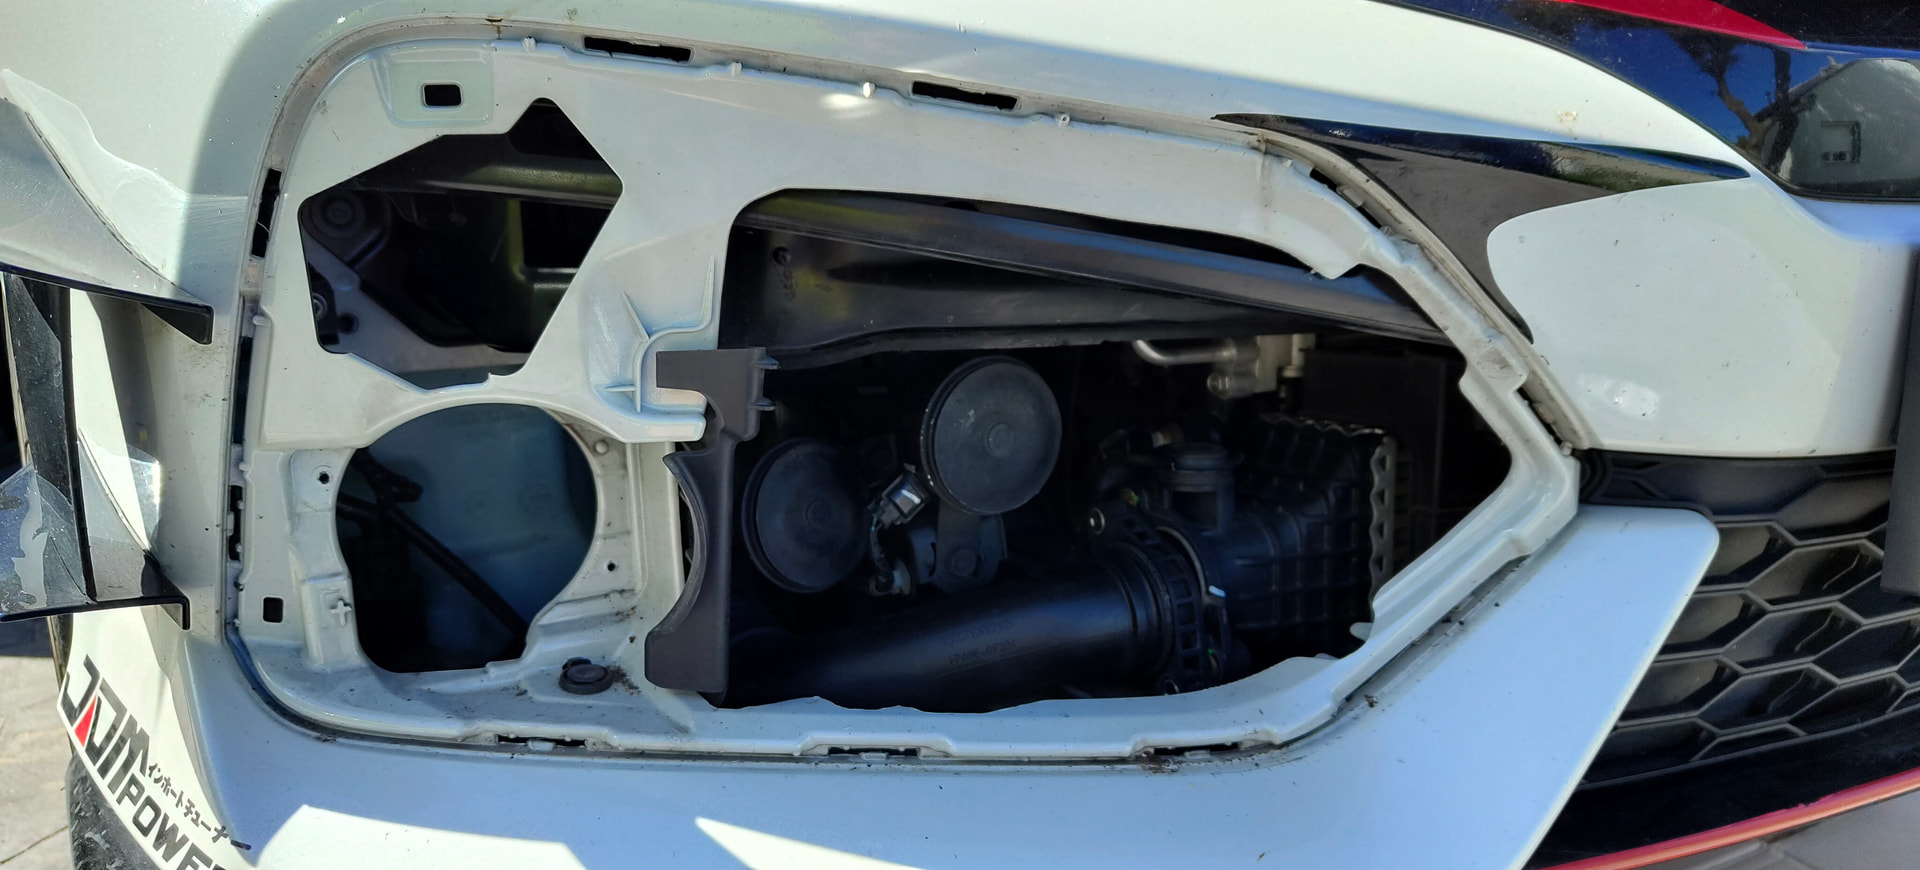
This is the engine bay of my 1.0. Since it doesn’t have fog lights, the idea is as follows:

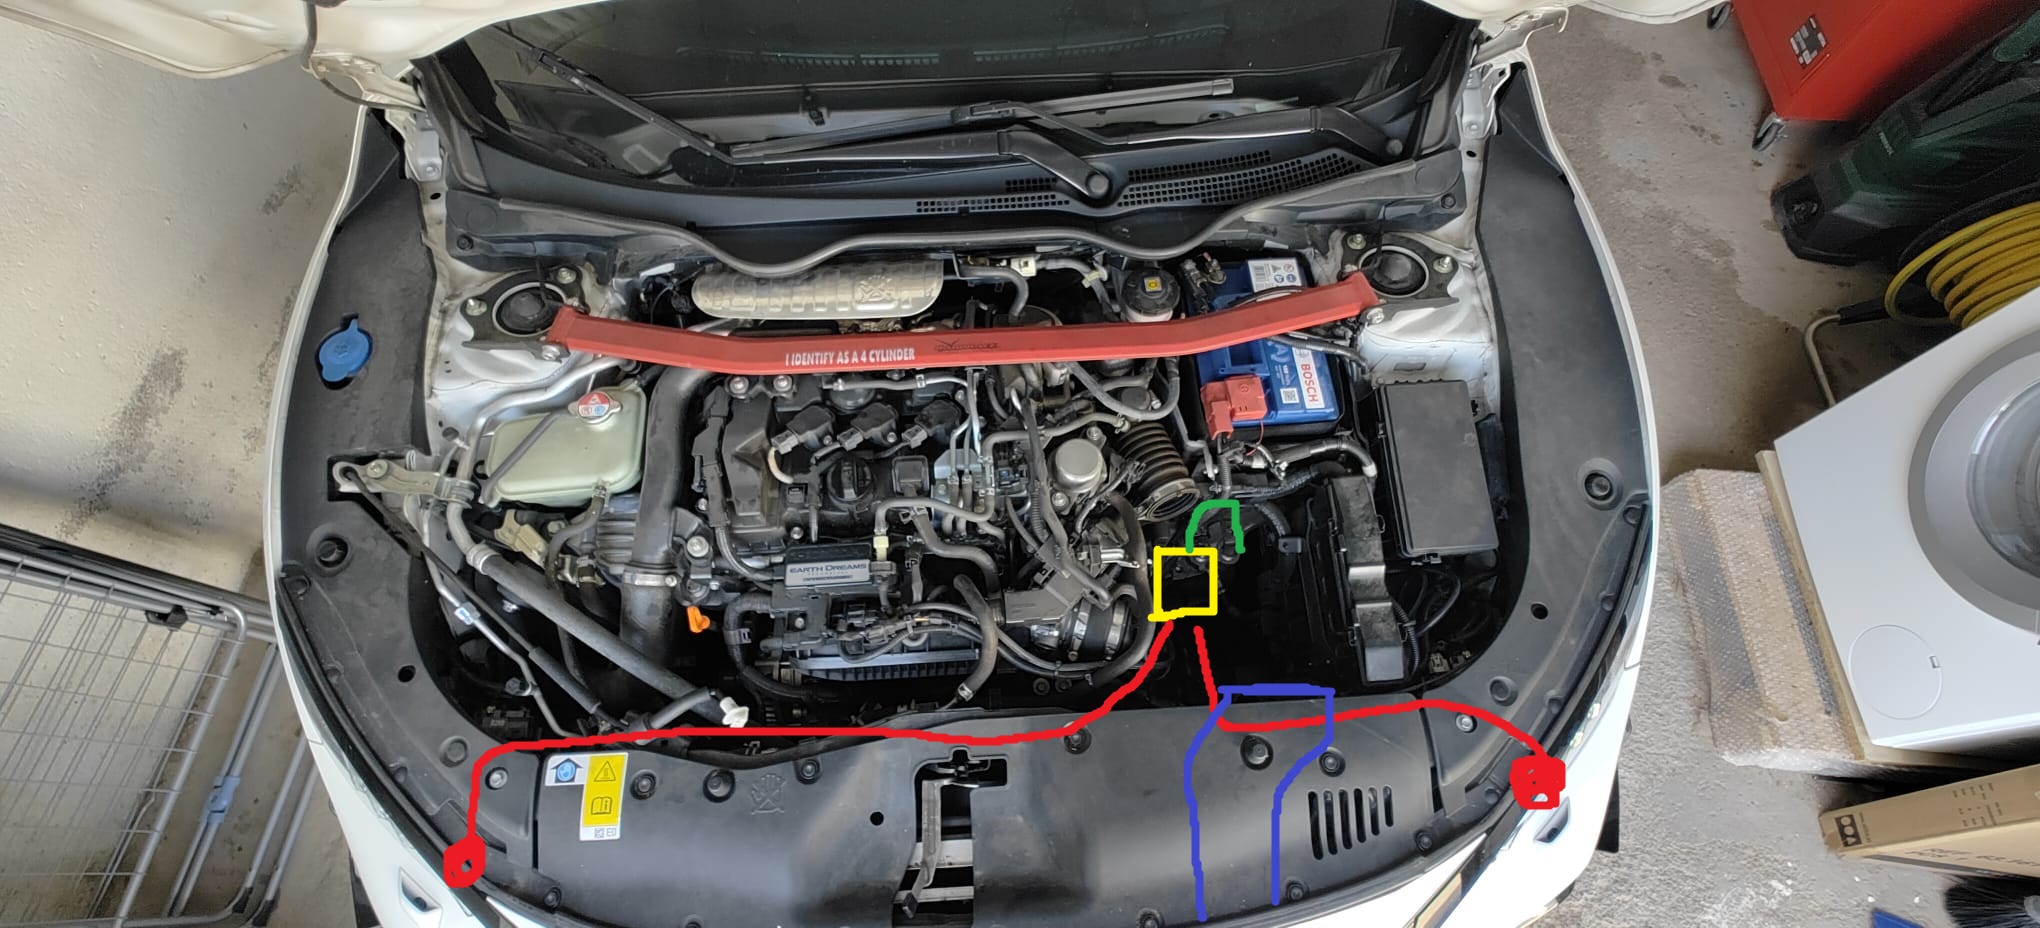
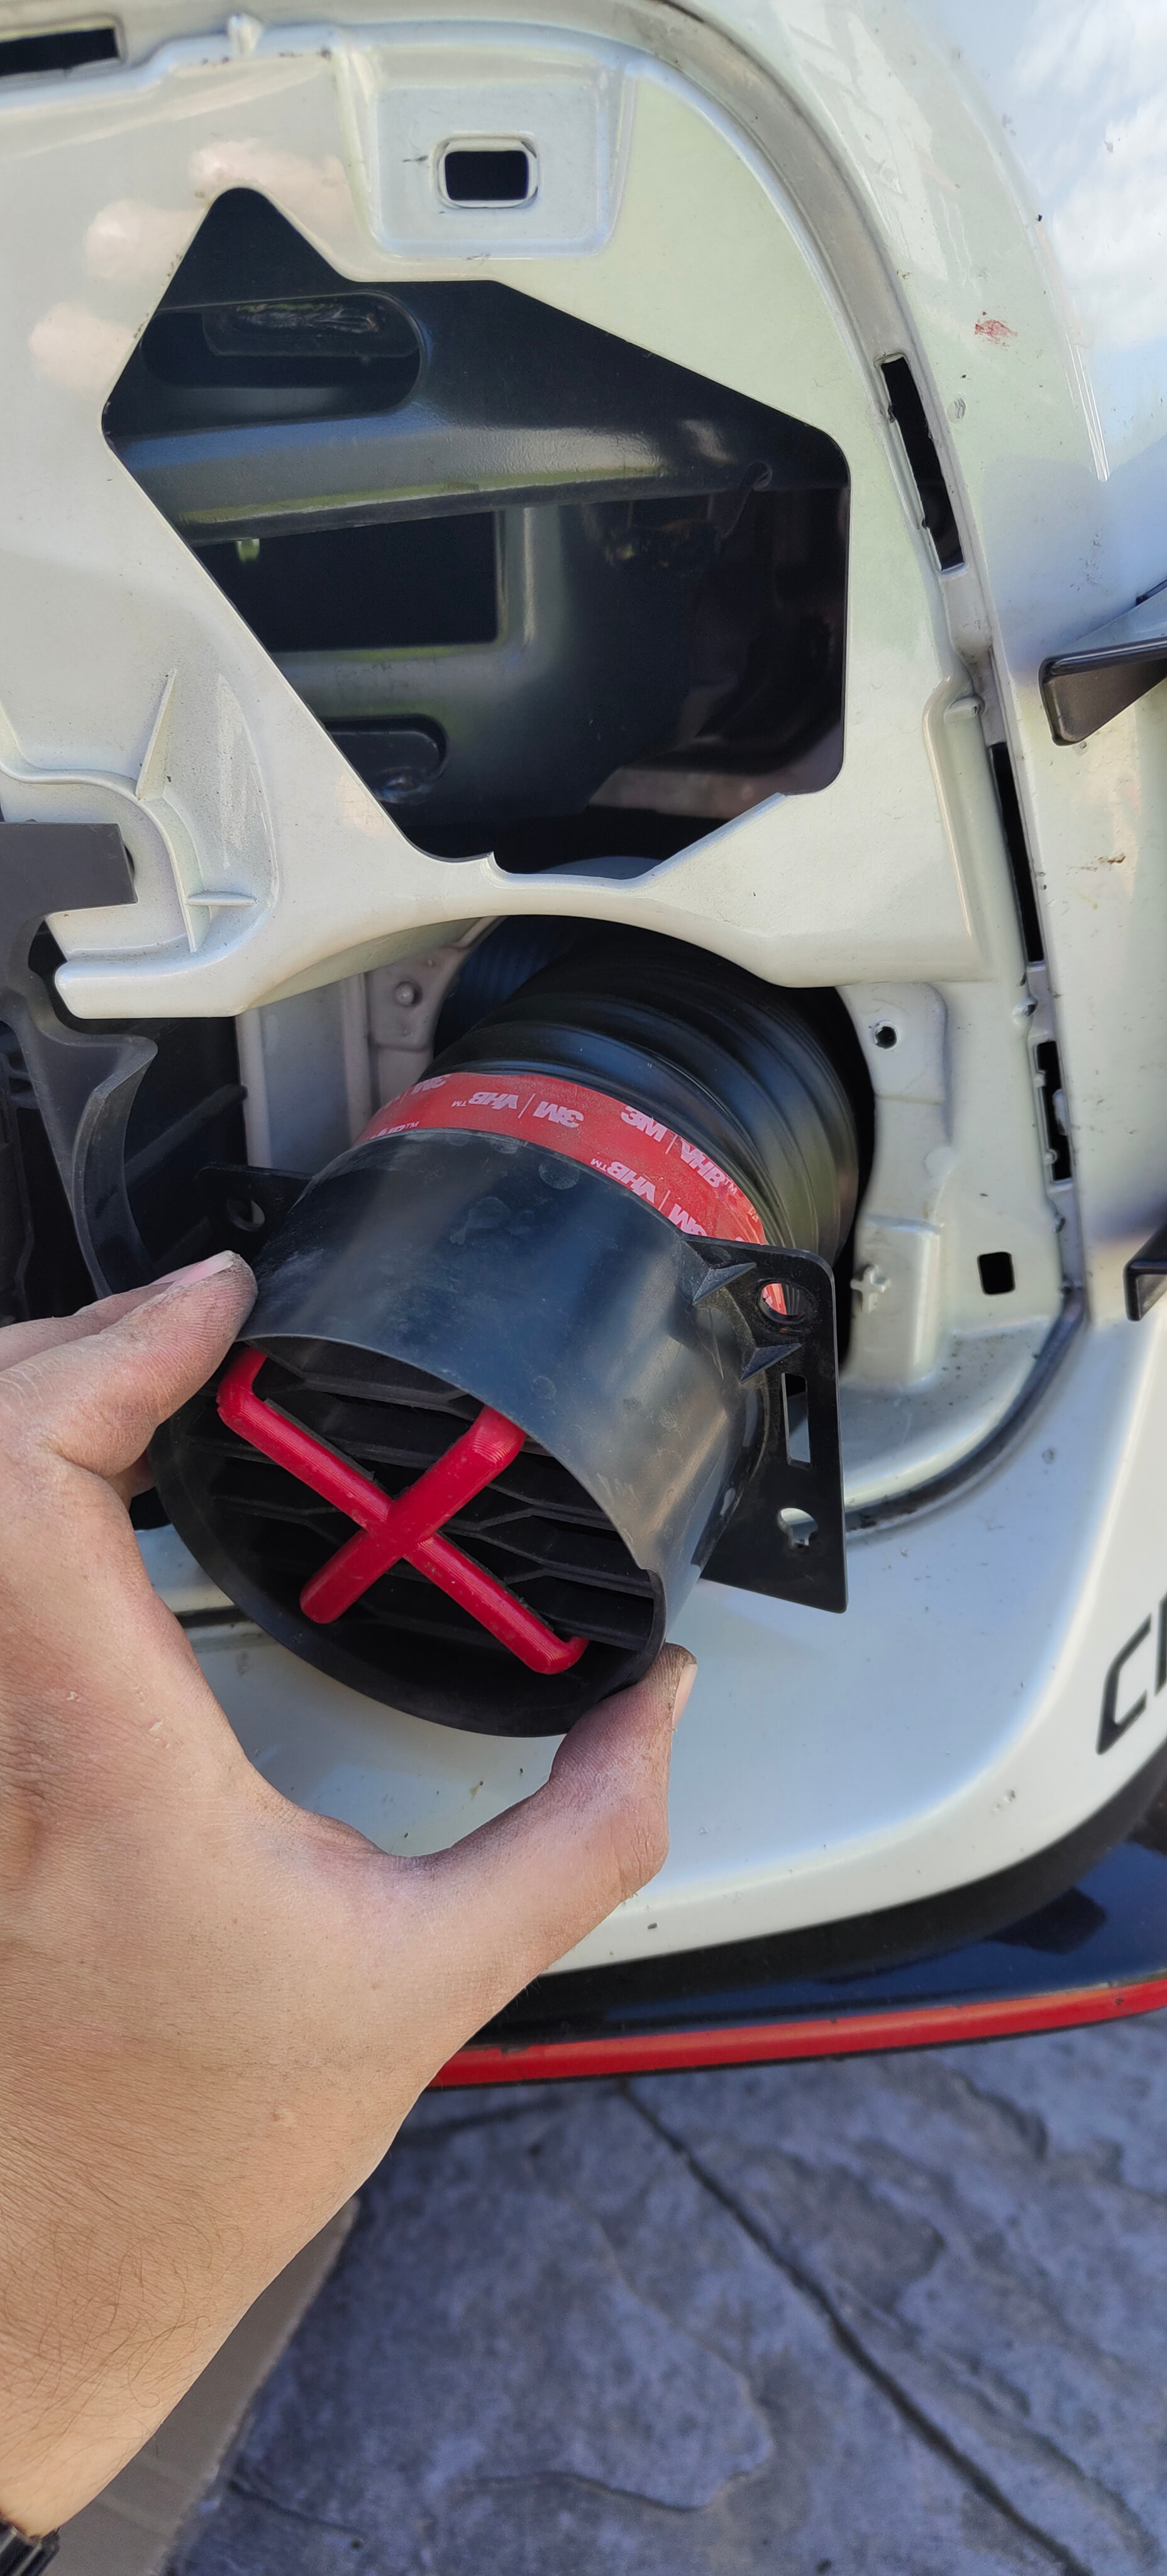
Since my Civic didn’t come with fog lights from the factory, I’m planning to connect a pair of pipes to each fog light opening and then merge them under the intake box into a single pipe and attach it to the 3D box I’m making (that way I don’t ruin the original one by cutting a hole in it).

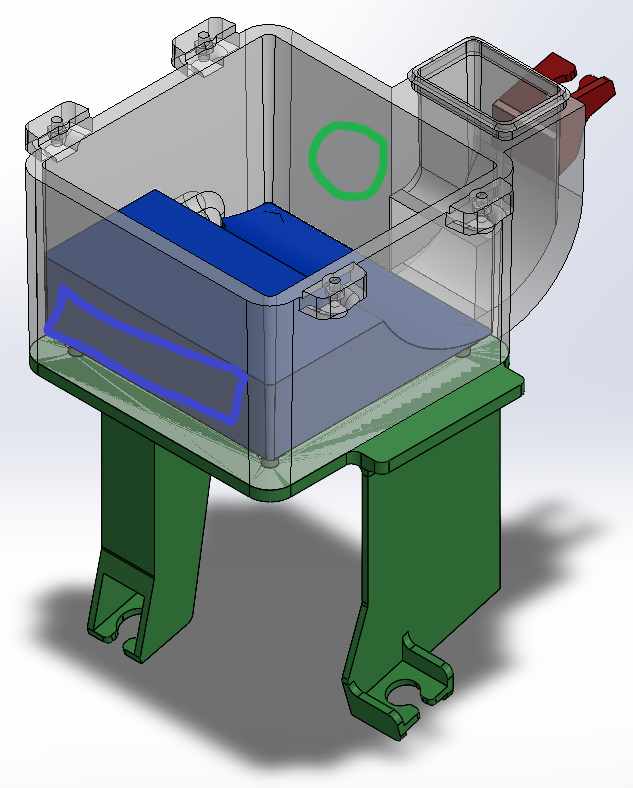
Also, as you can see from my incredible artwork, I plan to somehow adapt an extra inlet (drawn in blue) directly from the front grille to the intake box, making it something that ALL 1.0 owners can adapt to get better sound and better airflow. I’ve marked in the following image where the fog light and grille inlets would go.

Once everything is perfect, I’m going to run a flow simulation on the part in the software to correct any turbulence that might be created with this configuration and fix it.

I’ve planned everything to be Plug & Play, where you only need the original rubber gasket and the screws with the rubber grommets that you can easily remove from your old intake to give your 1.0 more air concentration!

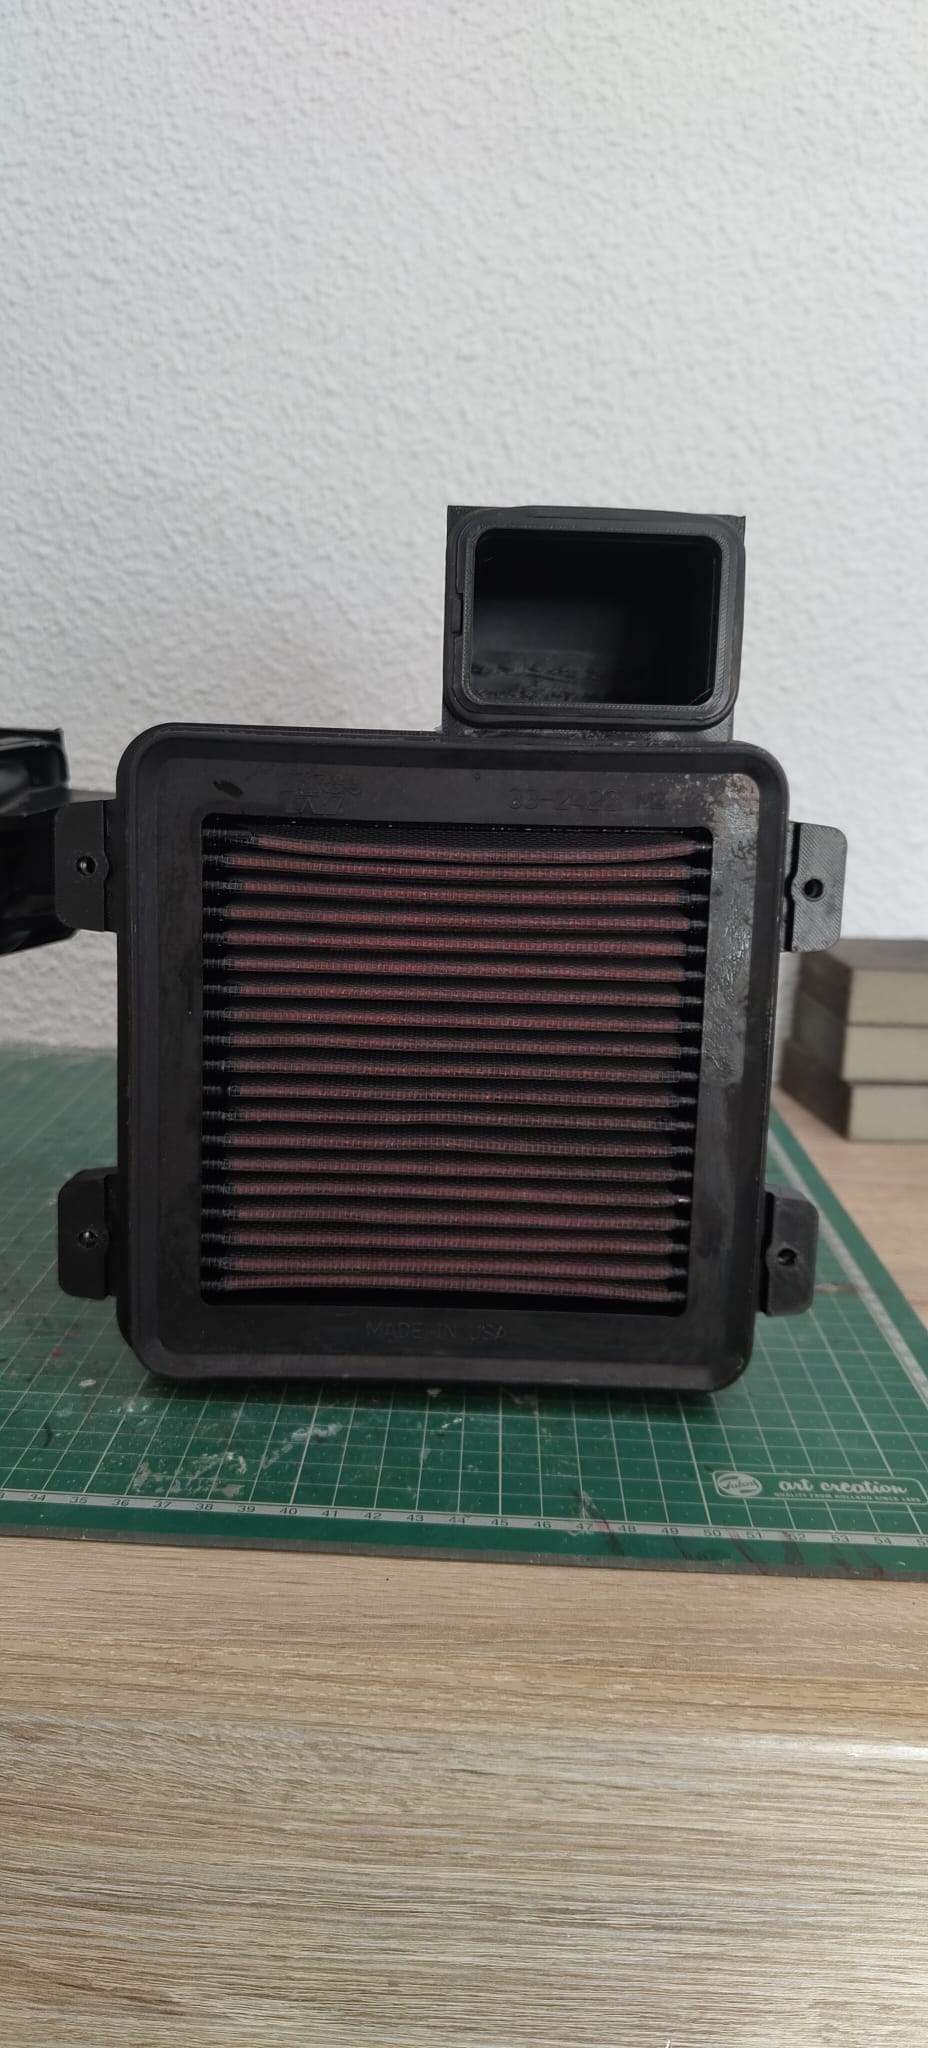
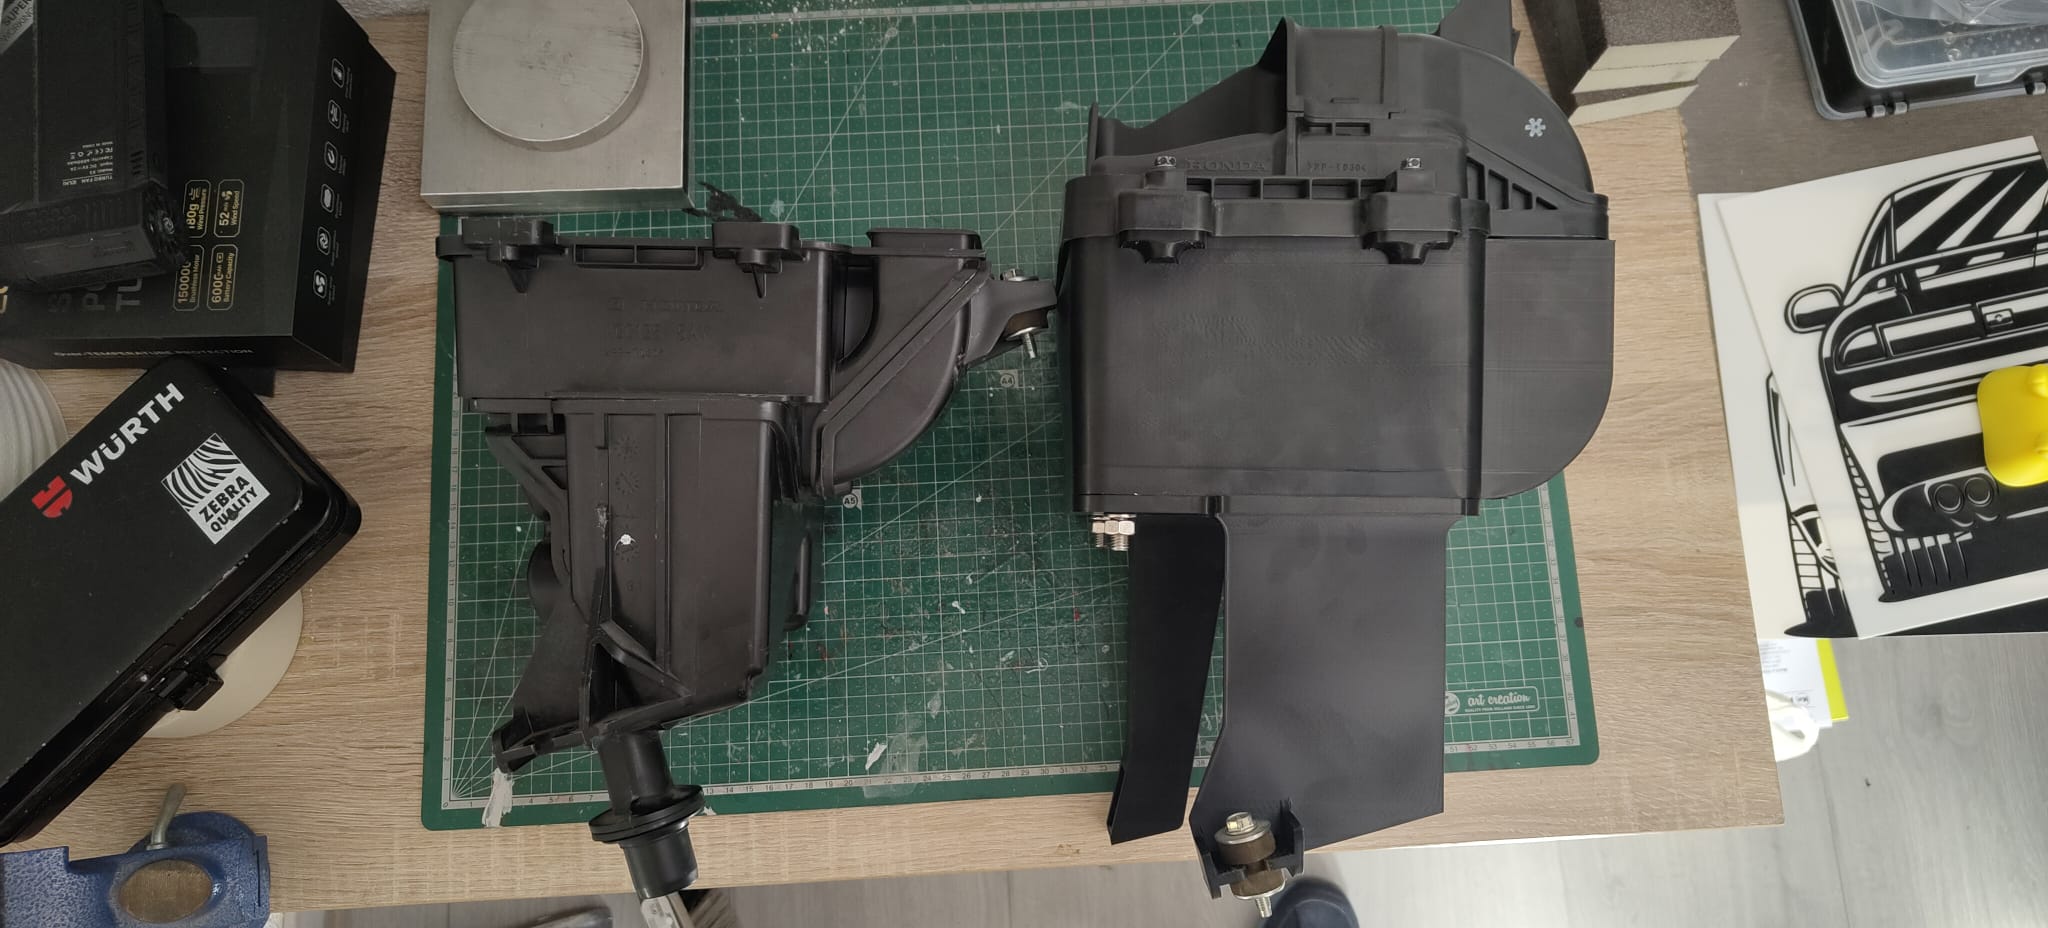
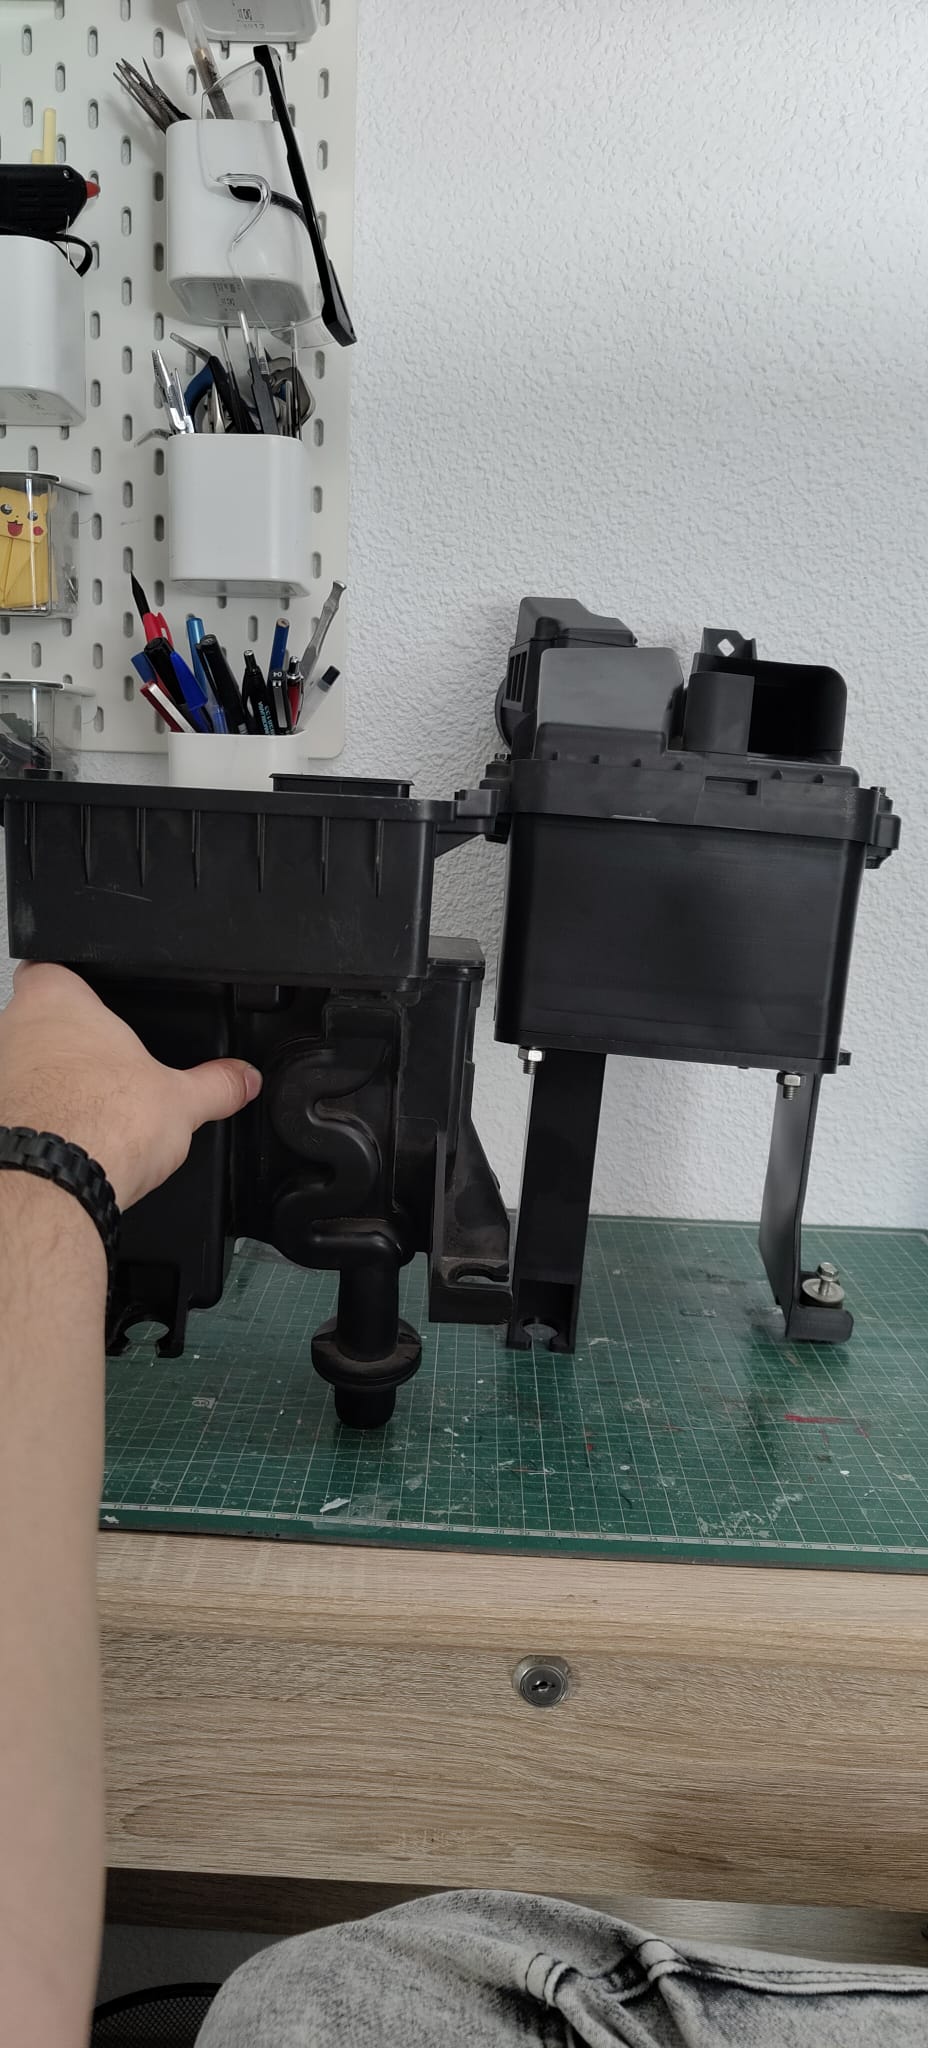
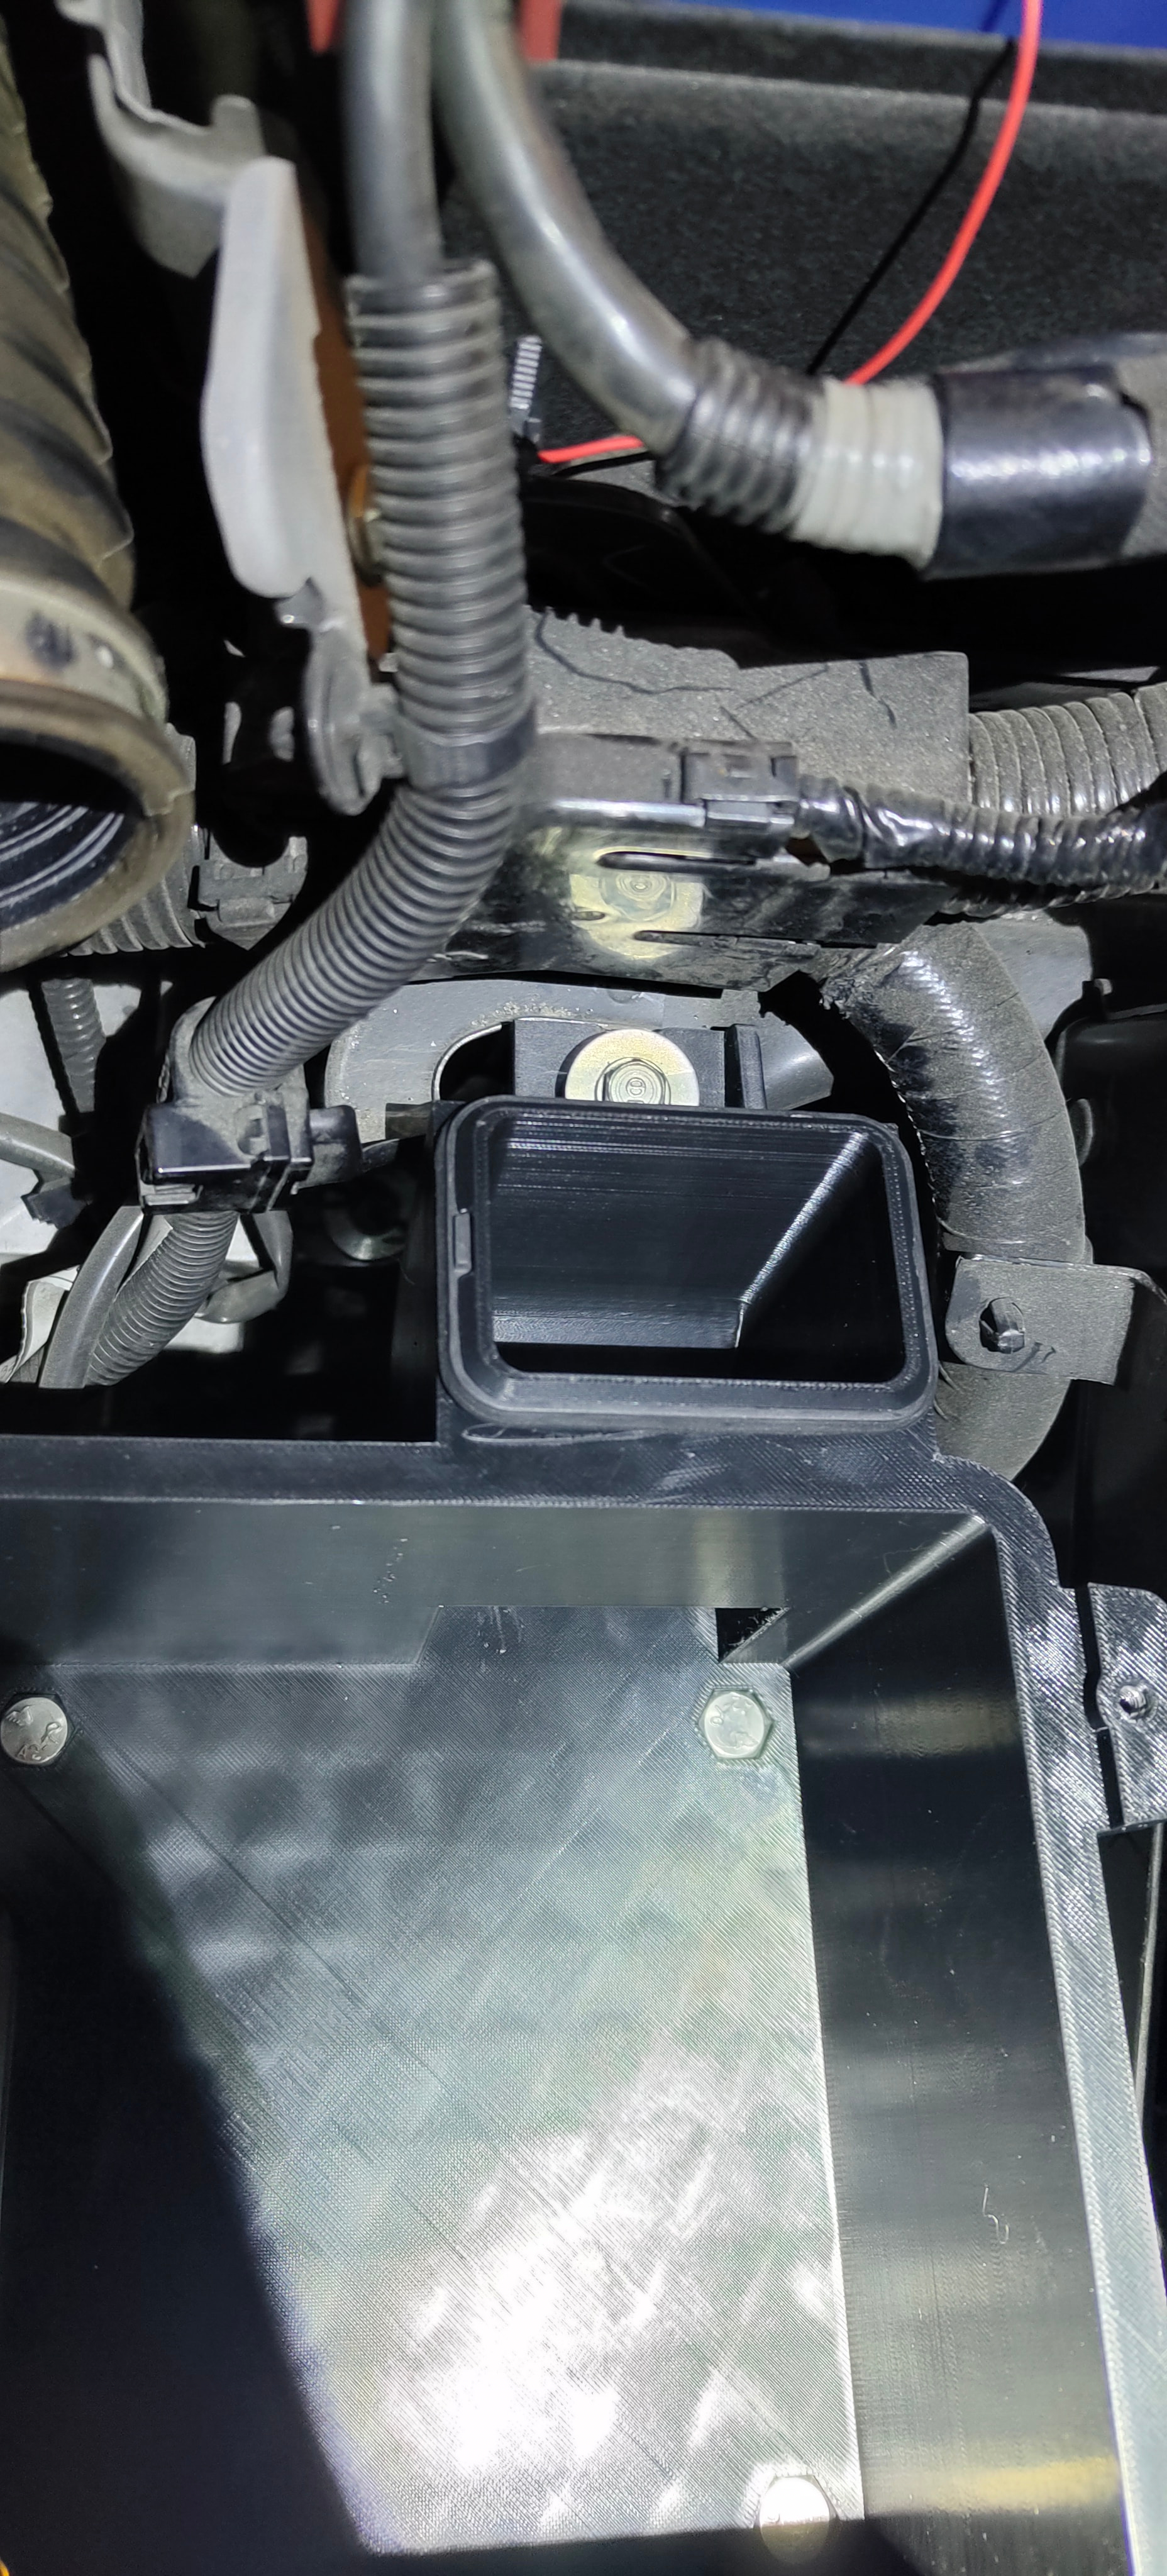
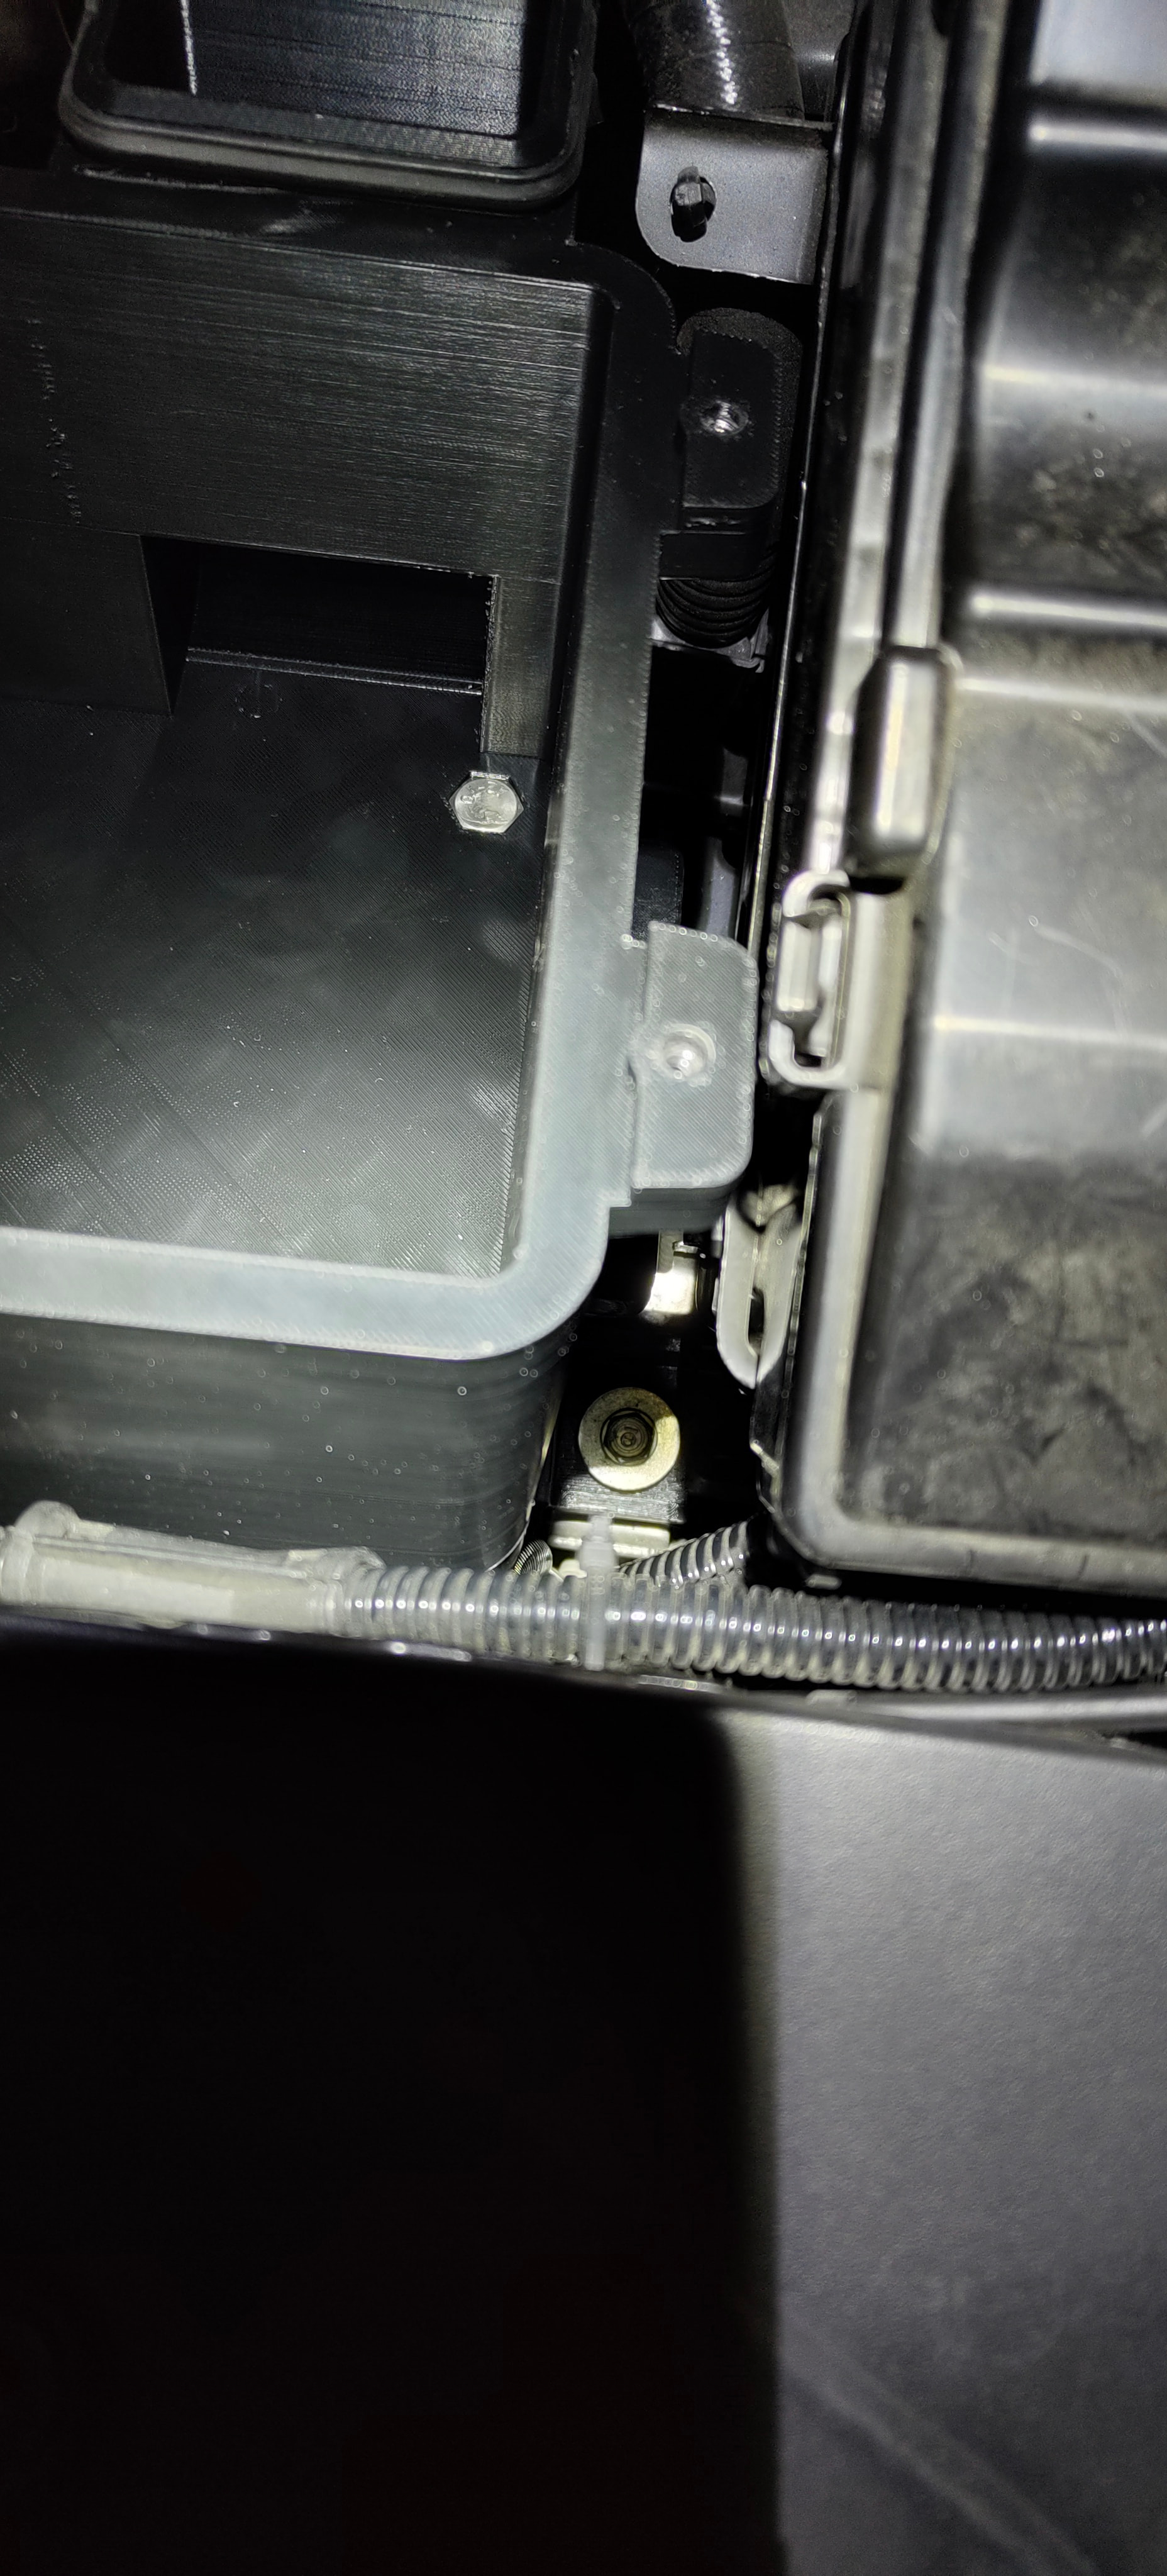
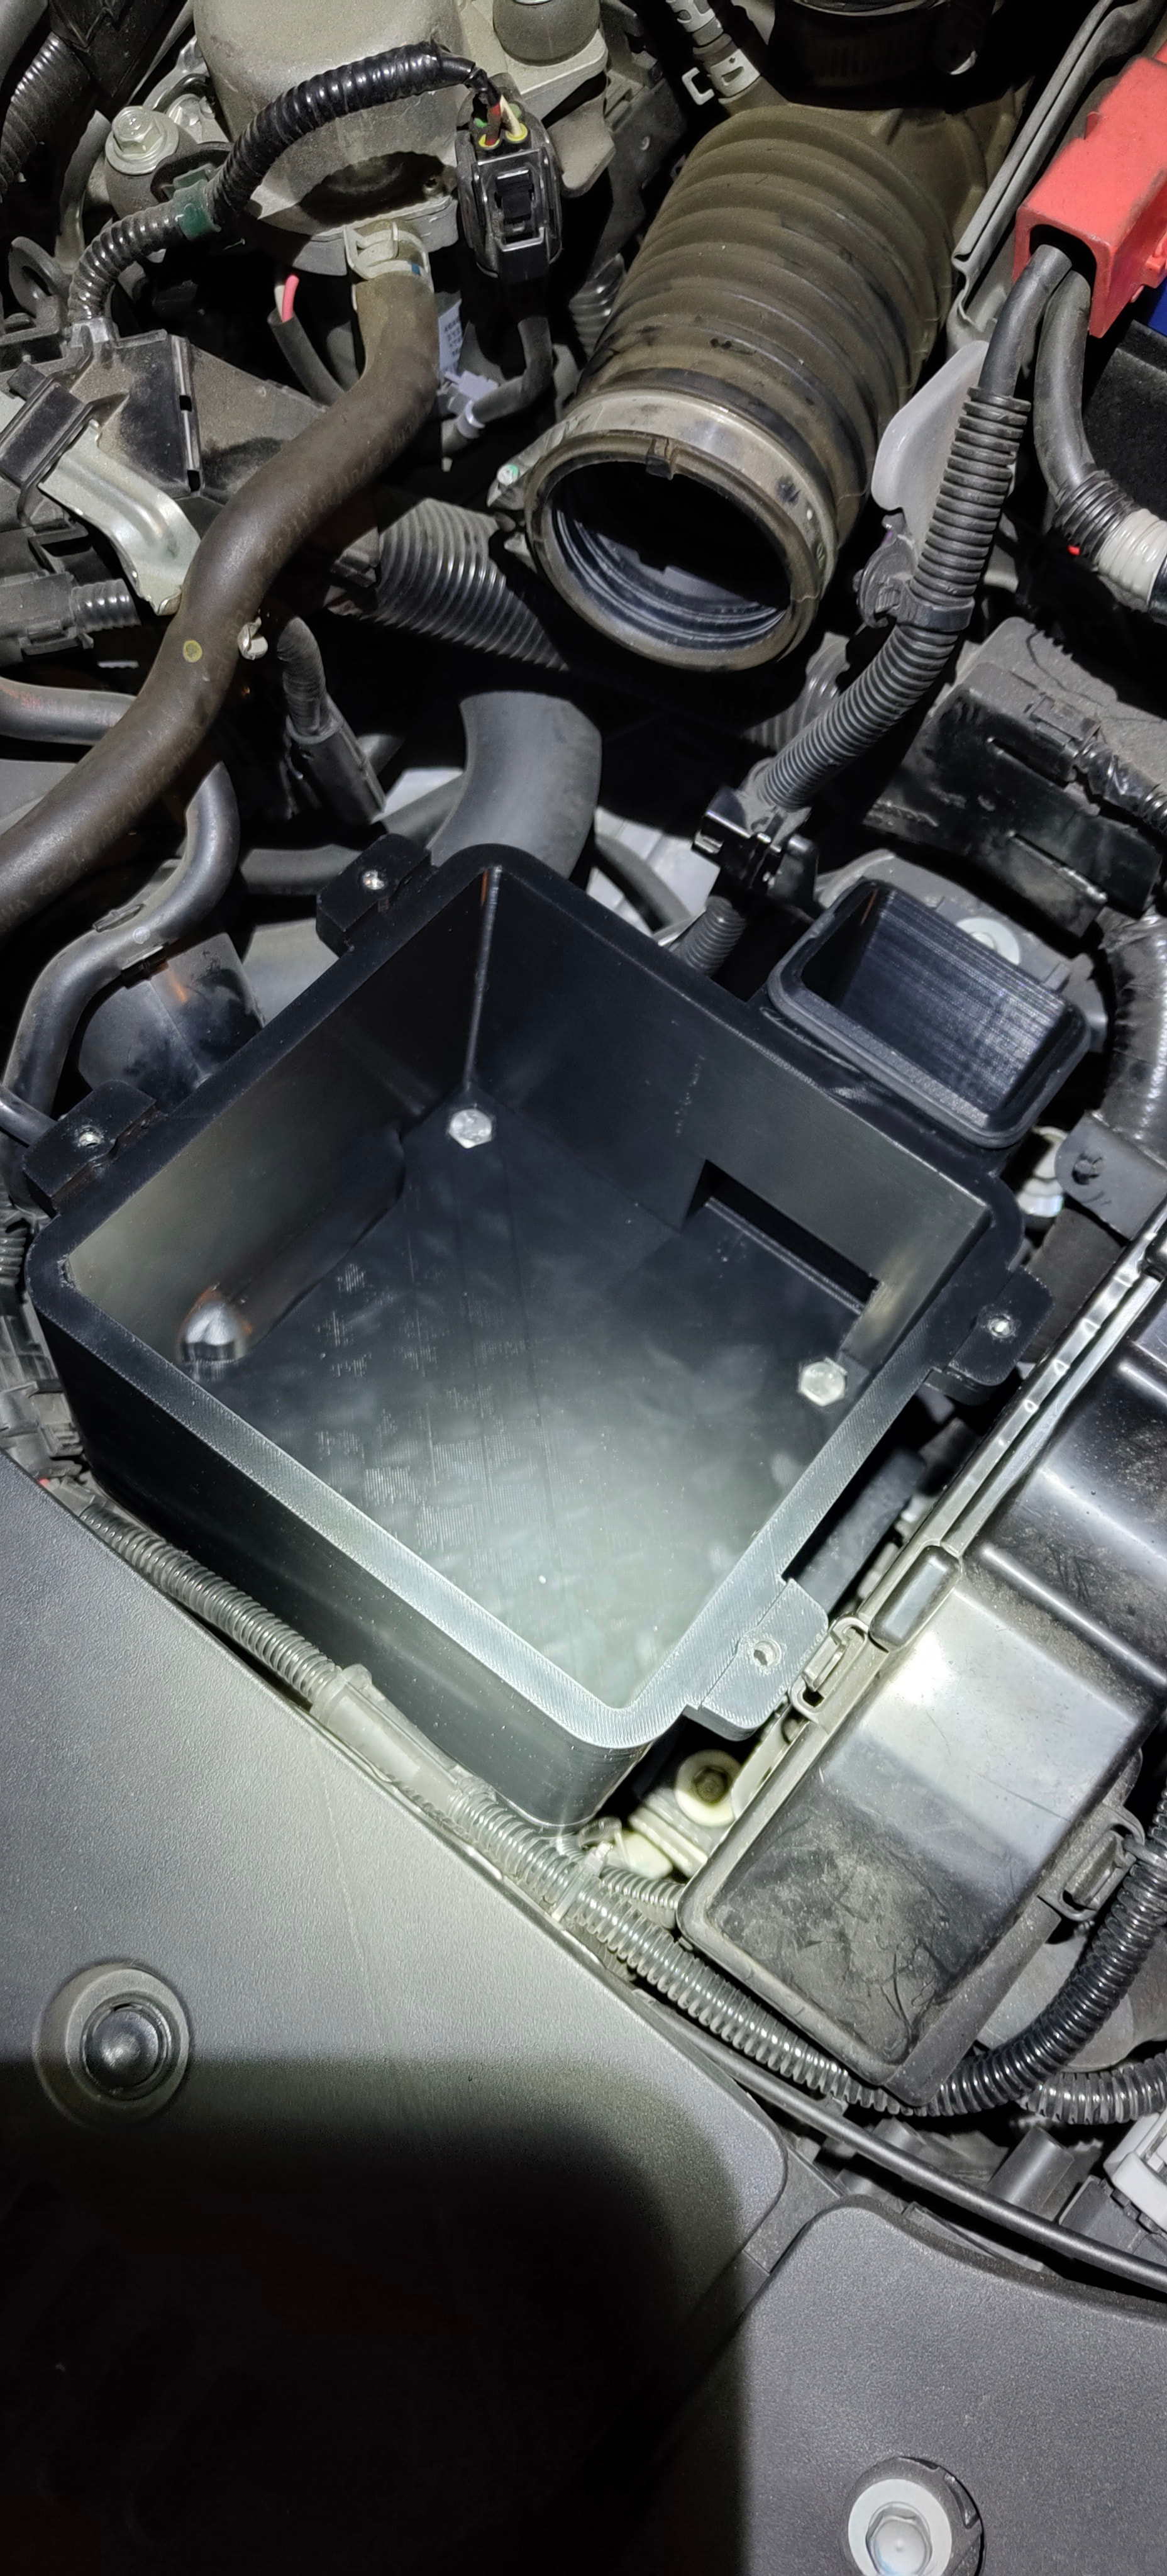
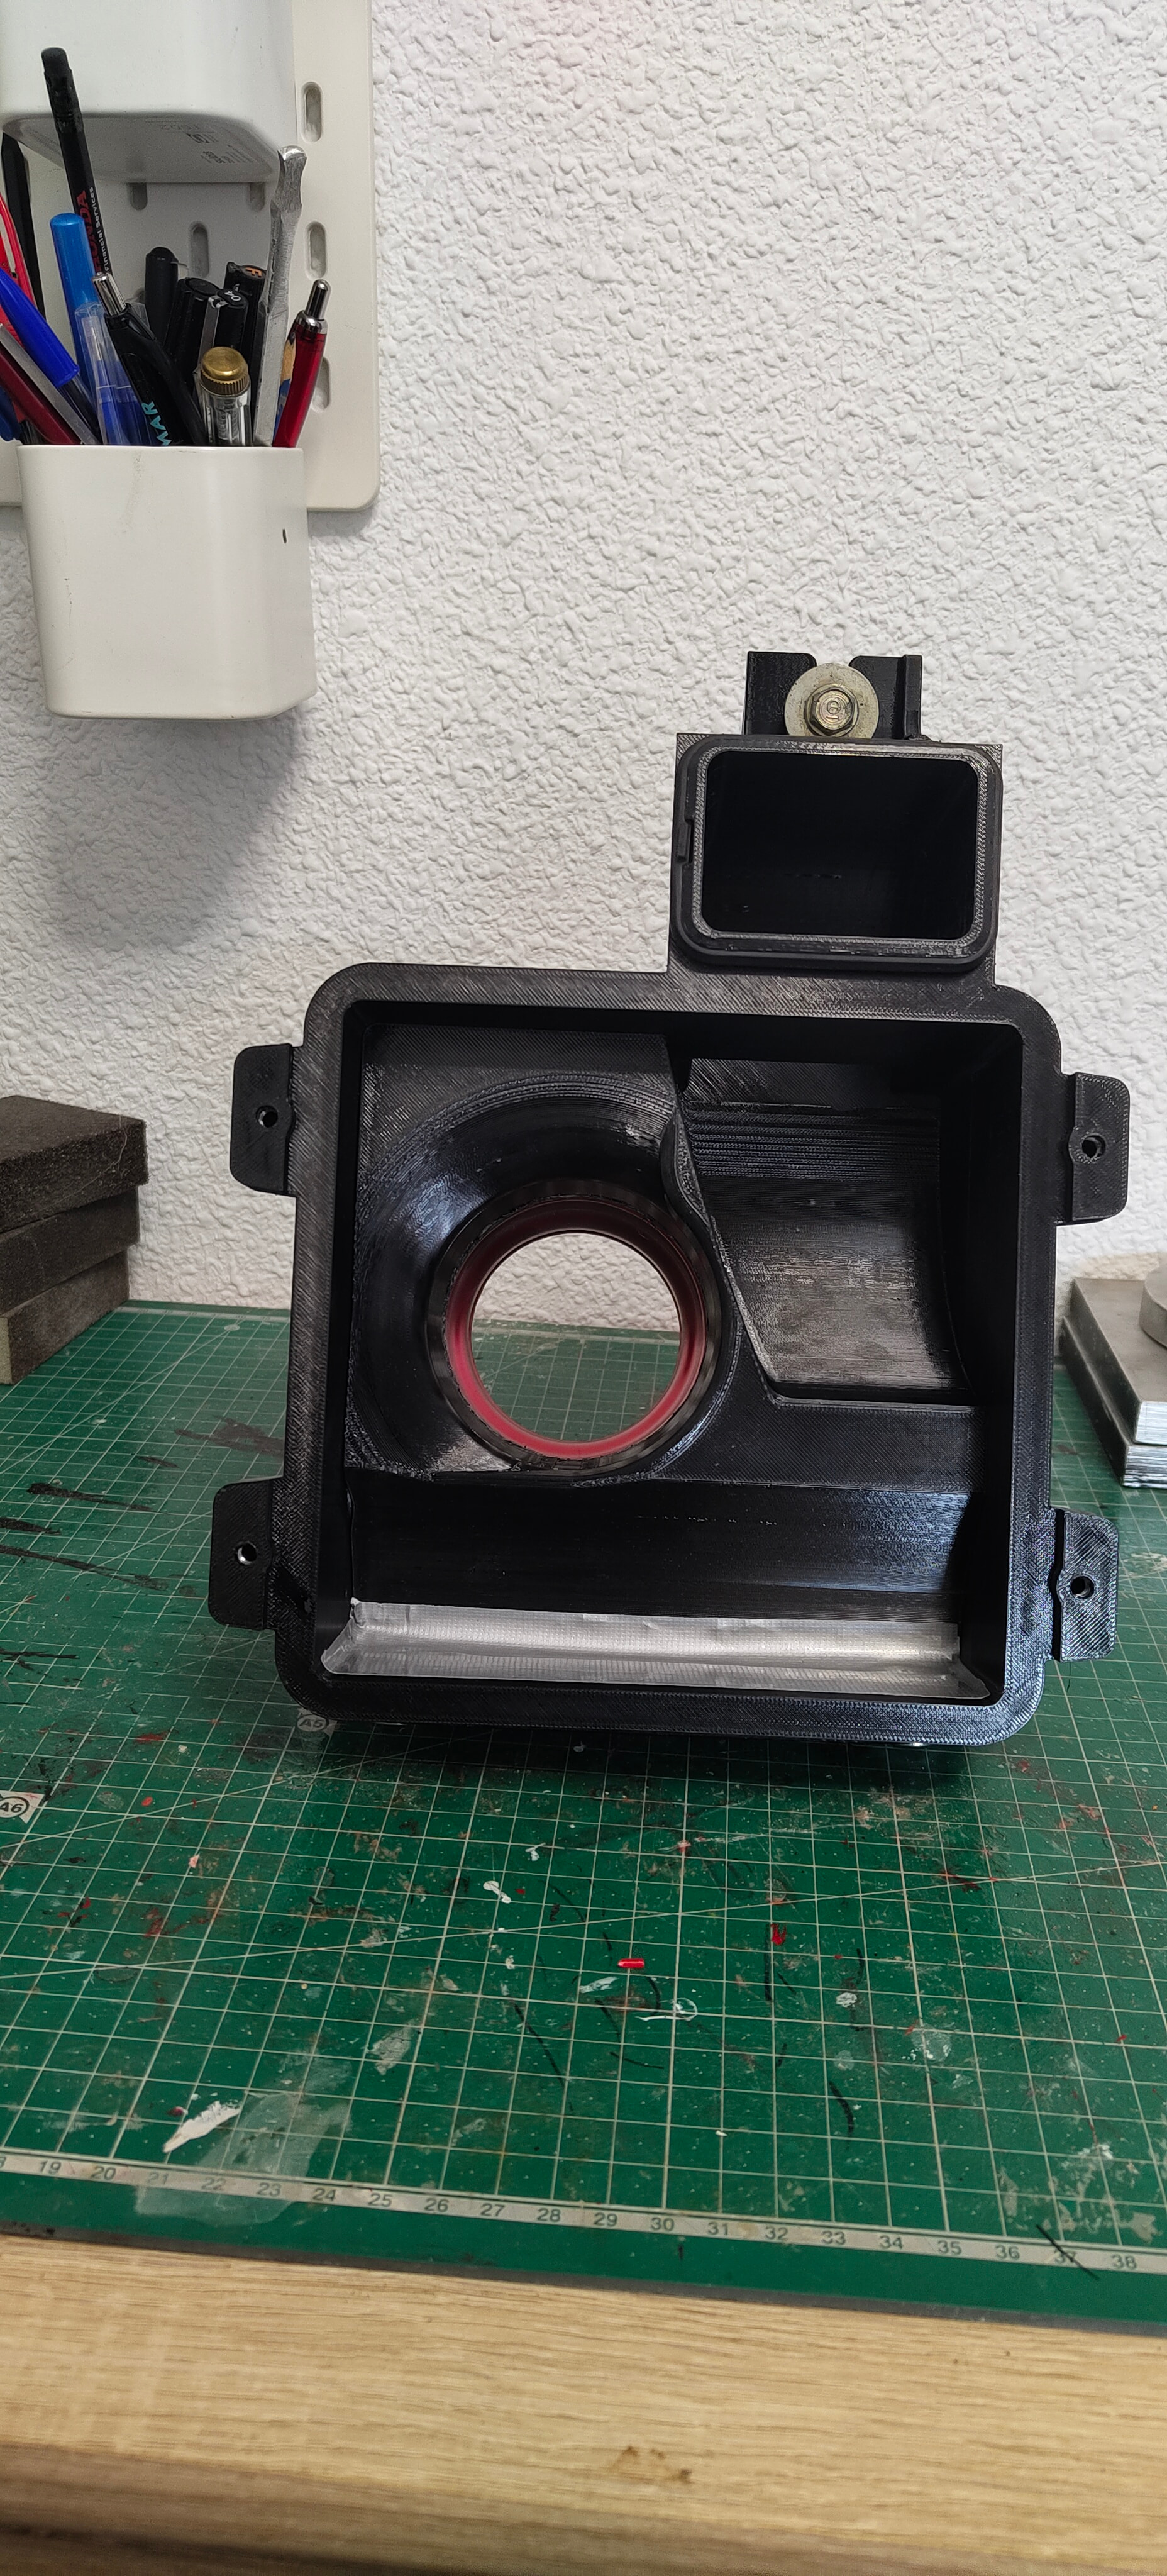
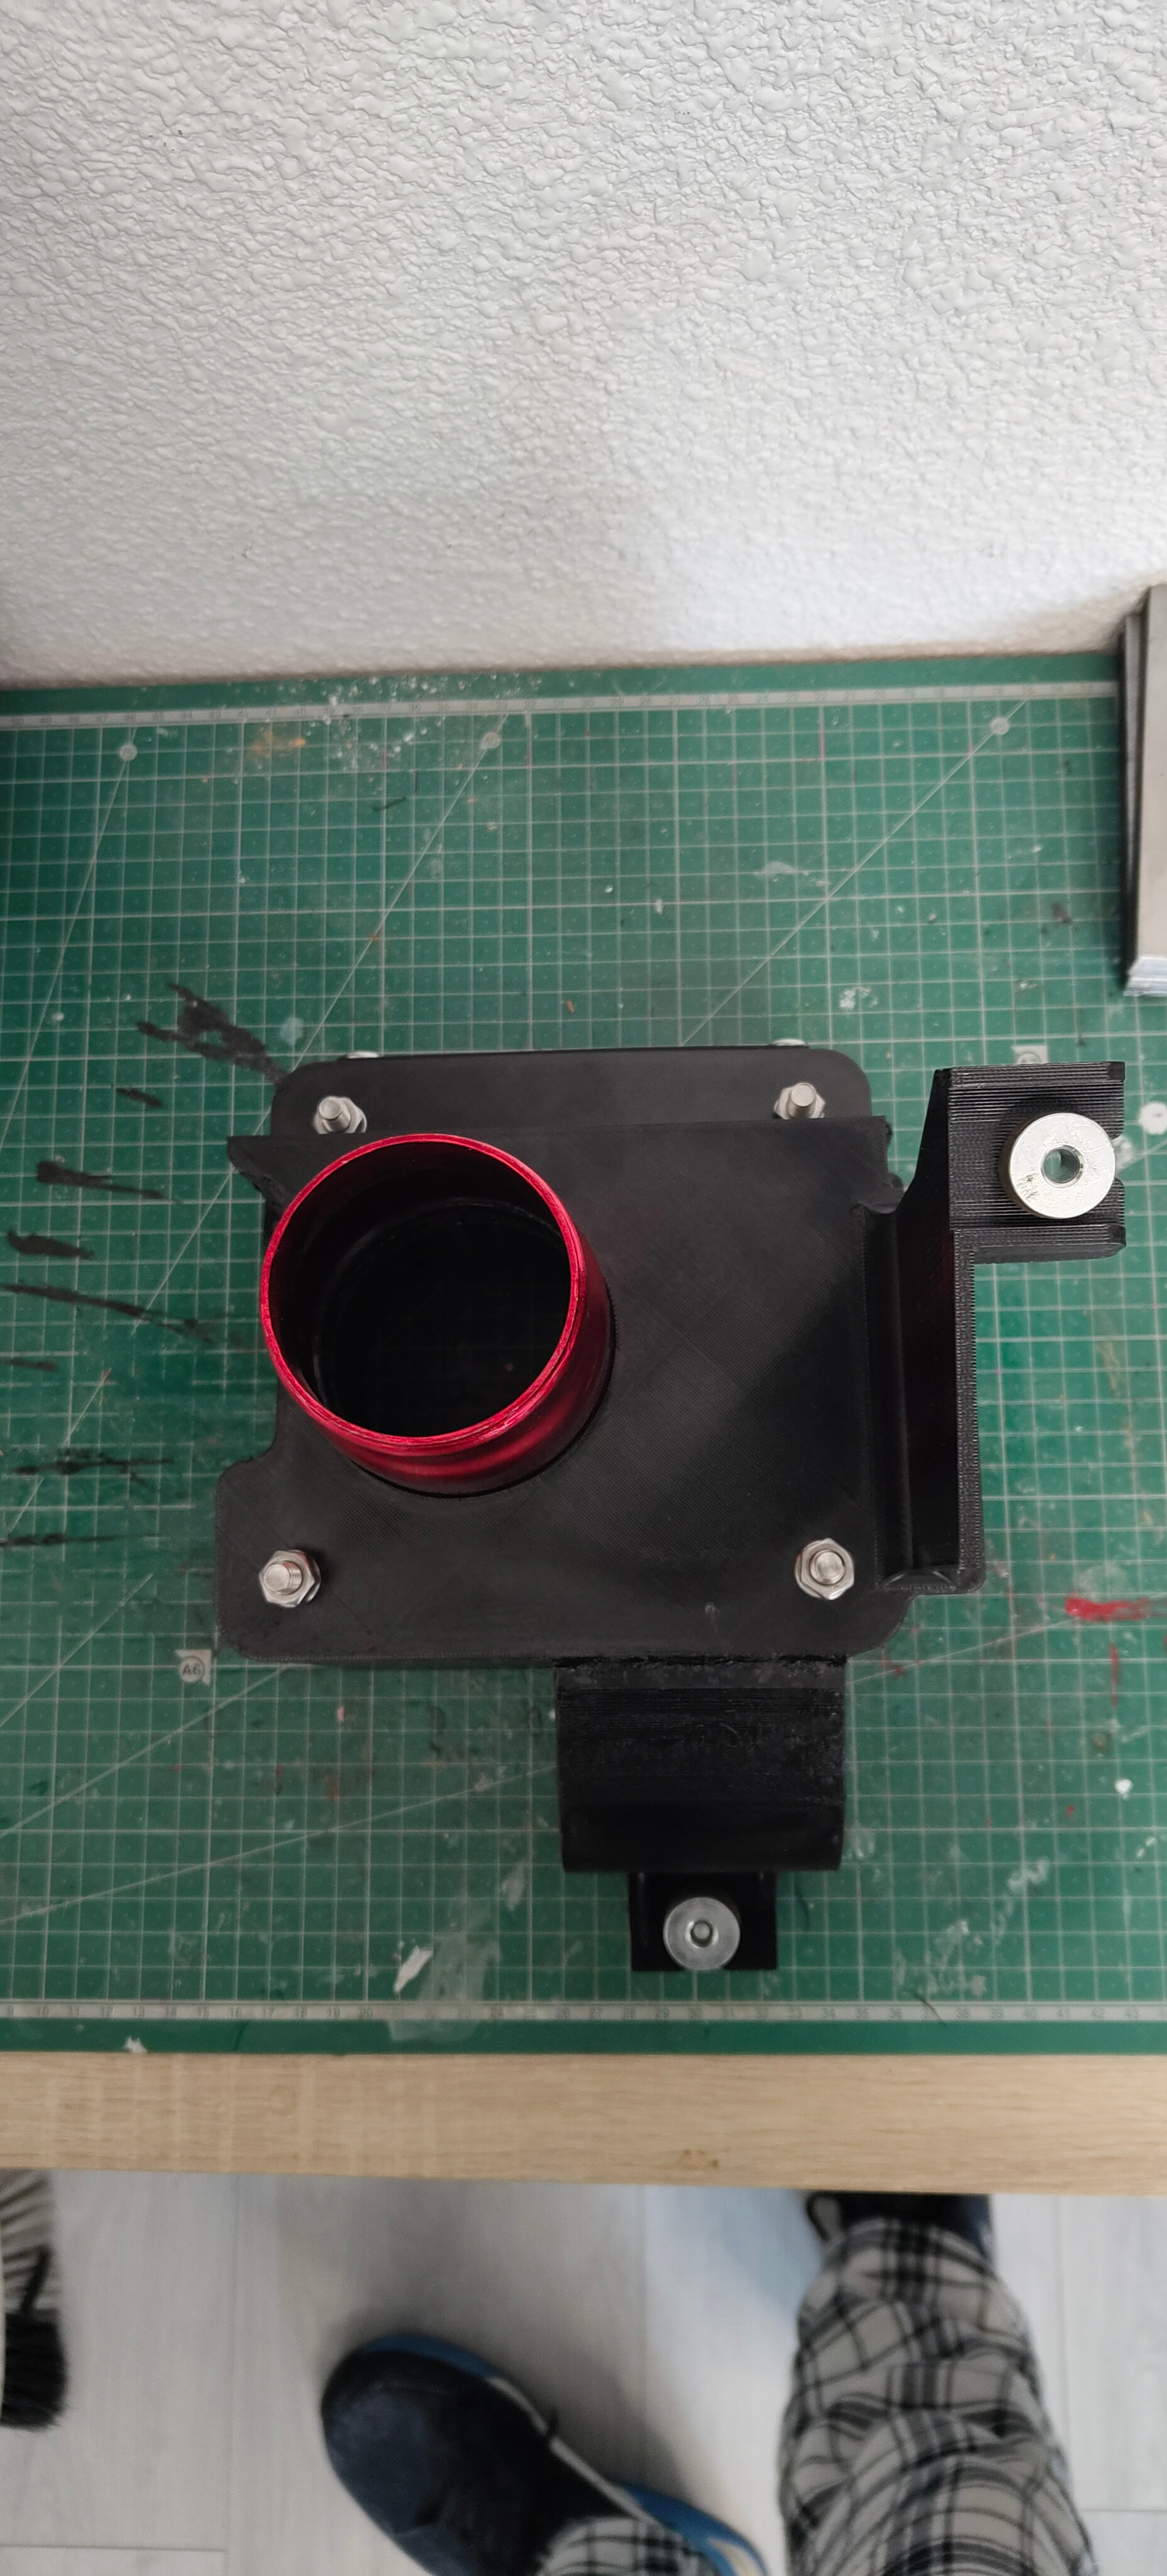
I’ll leave some sample images of the first prototype (spoiler: there are measurements that need readjusting):

I’m just a little mechanical designer, but I plan to do big things with this 1.0 :grin:

I’ll keep updating… WIP

11 Likes

That’s quite a job… keep us posted :winking_face_with_tongue:

1 Like

Update:

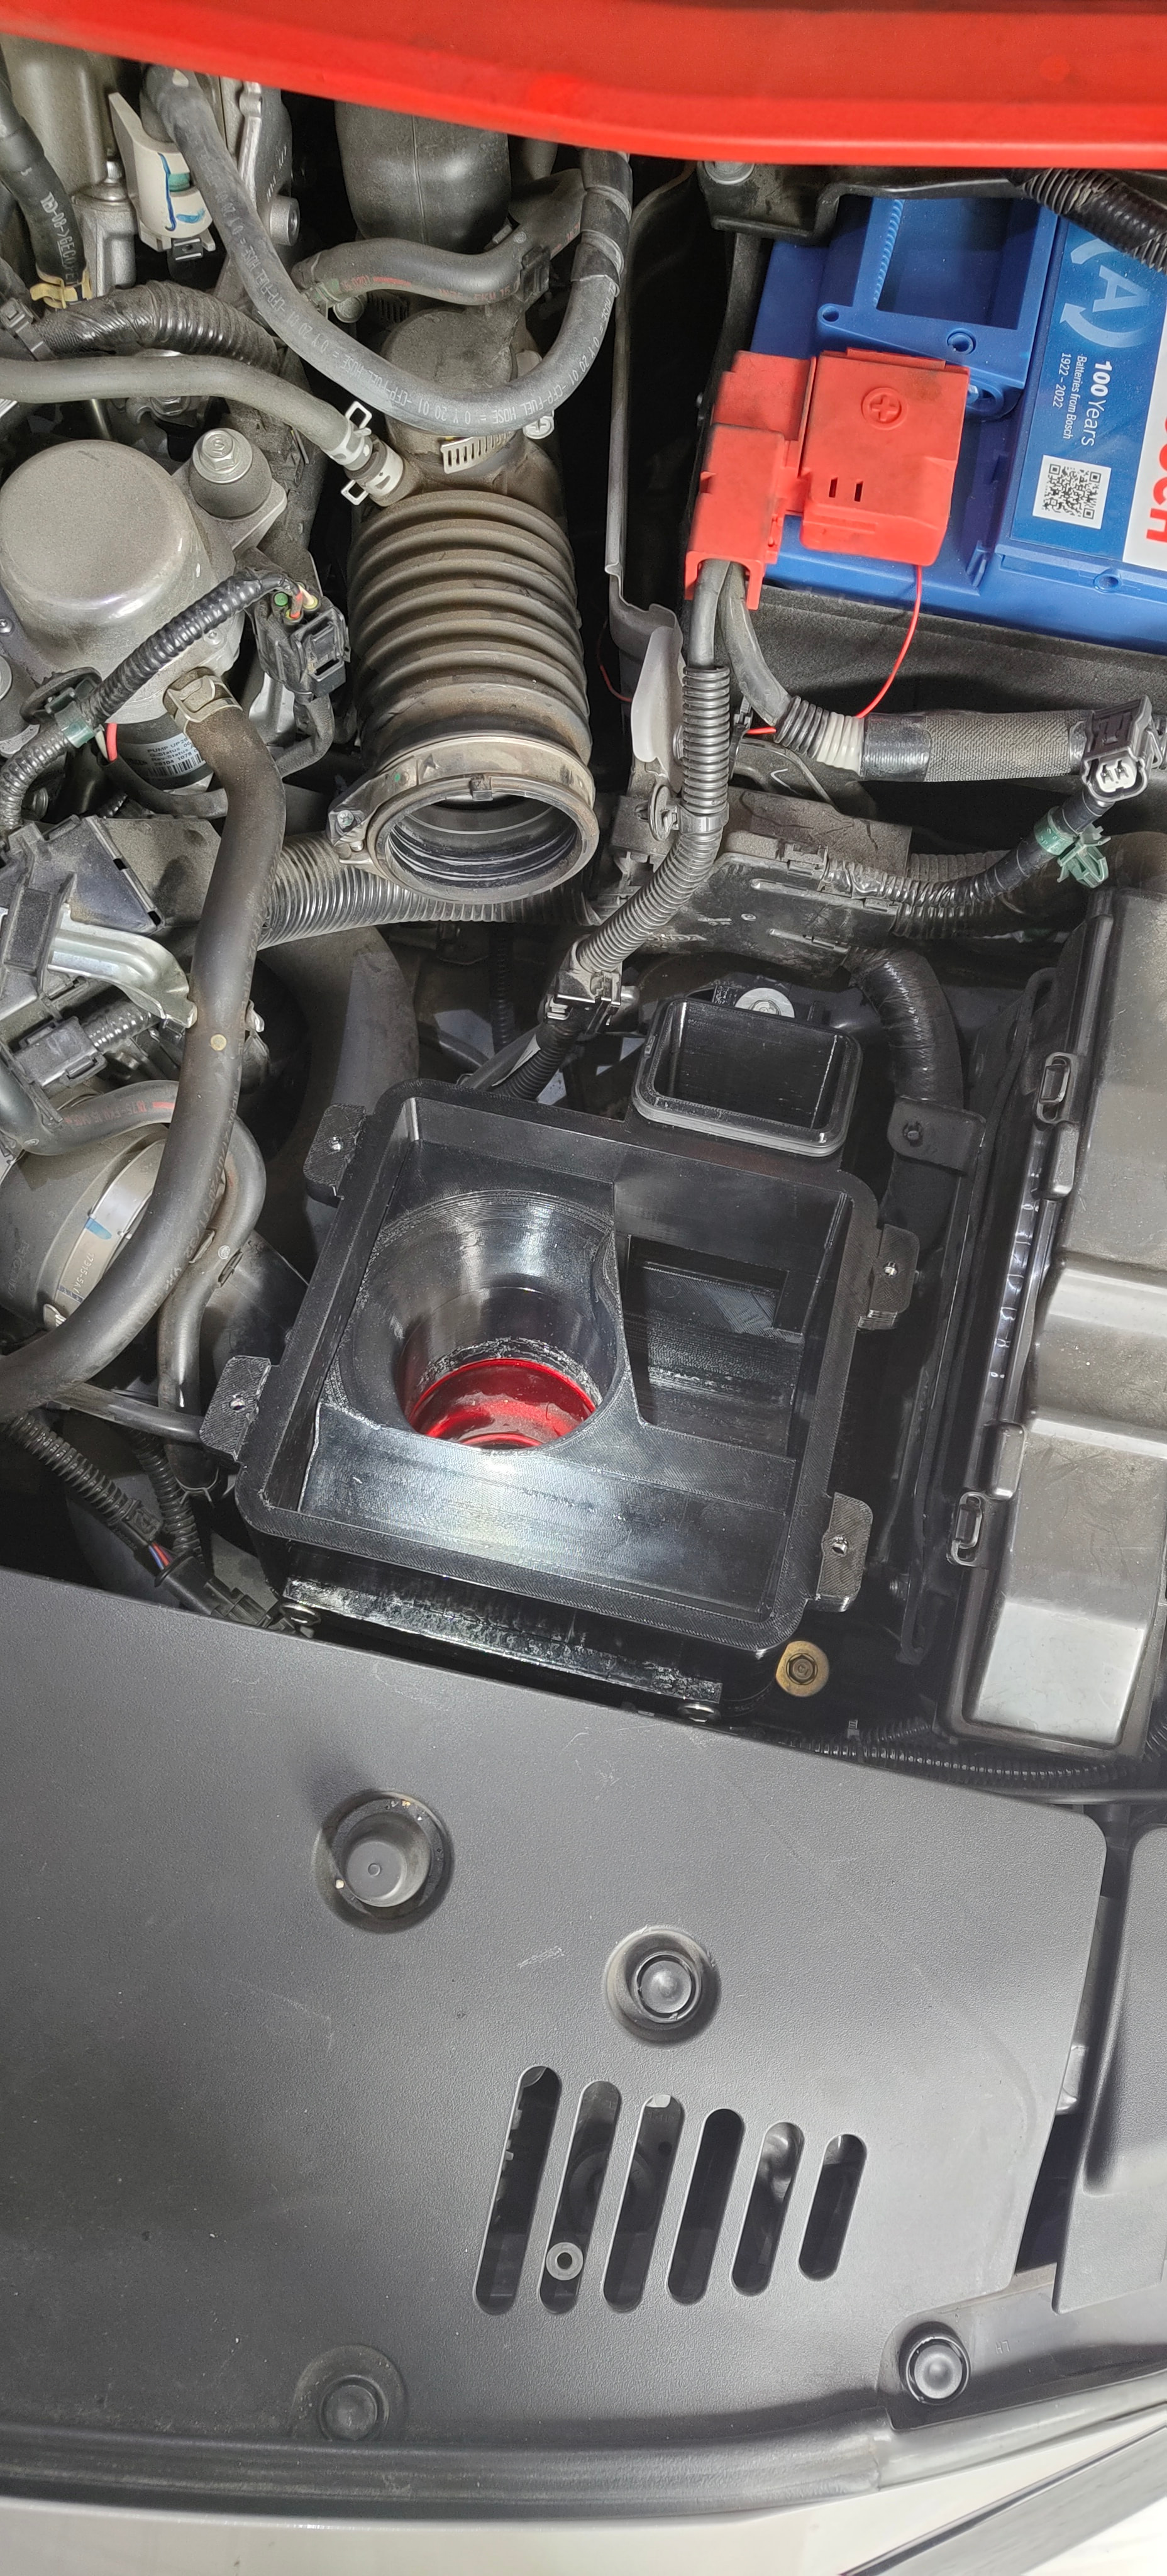
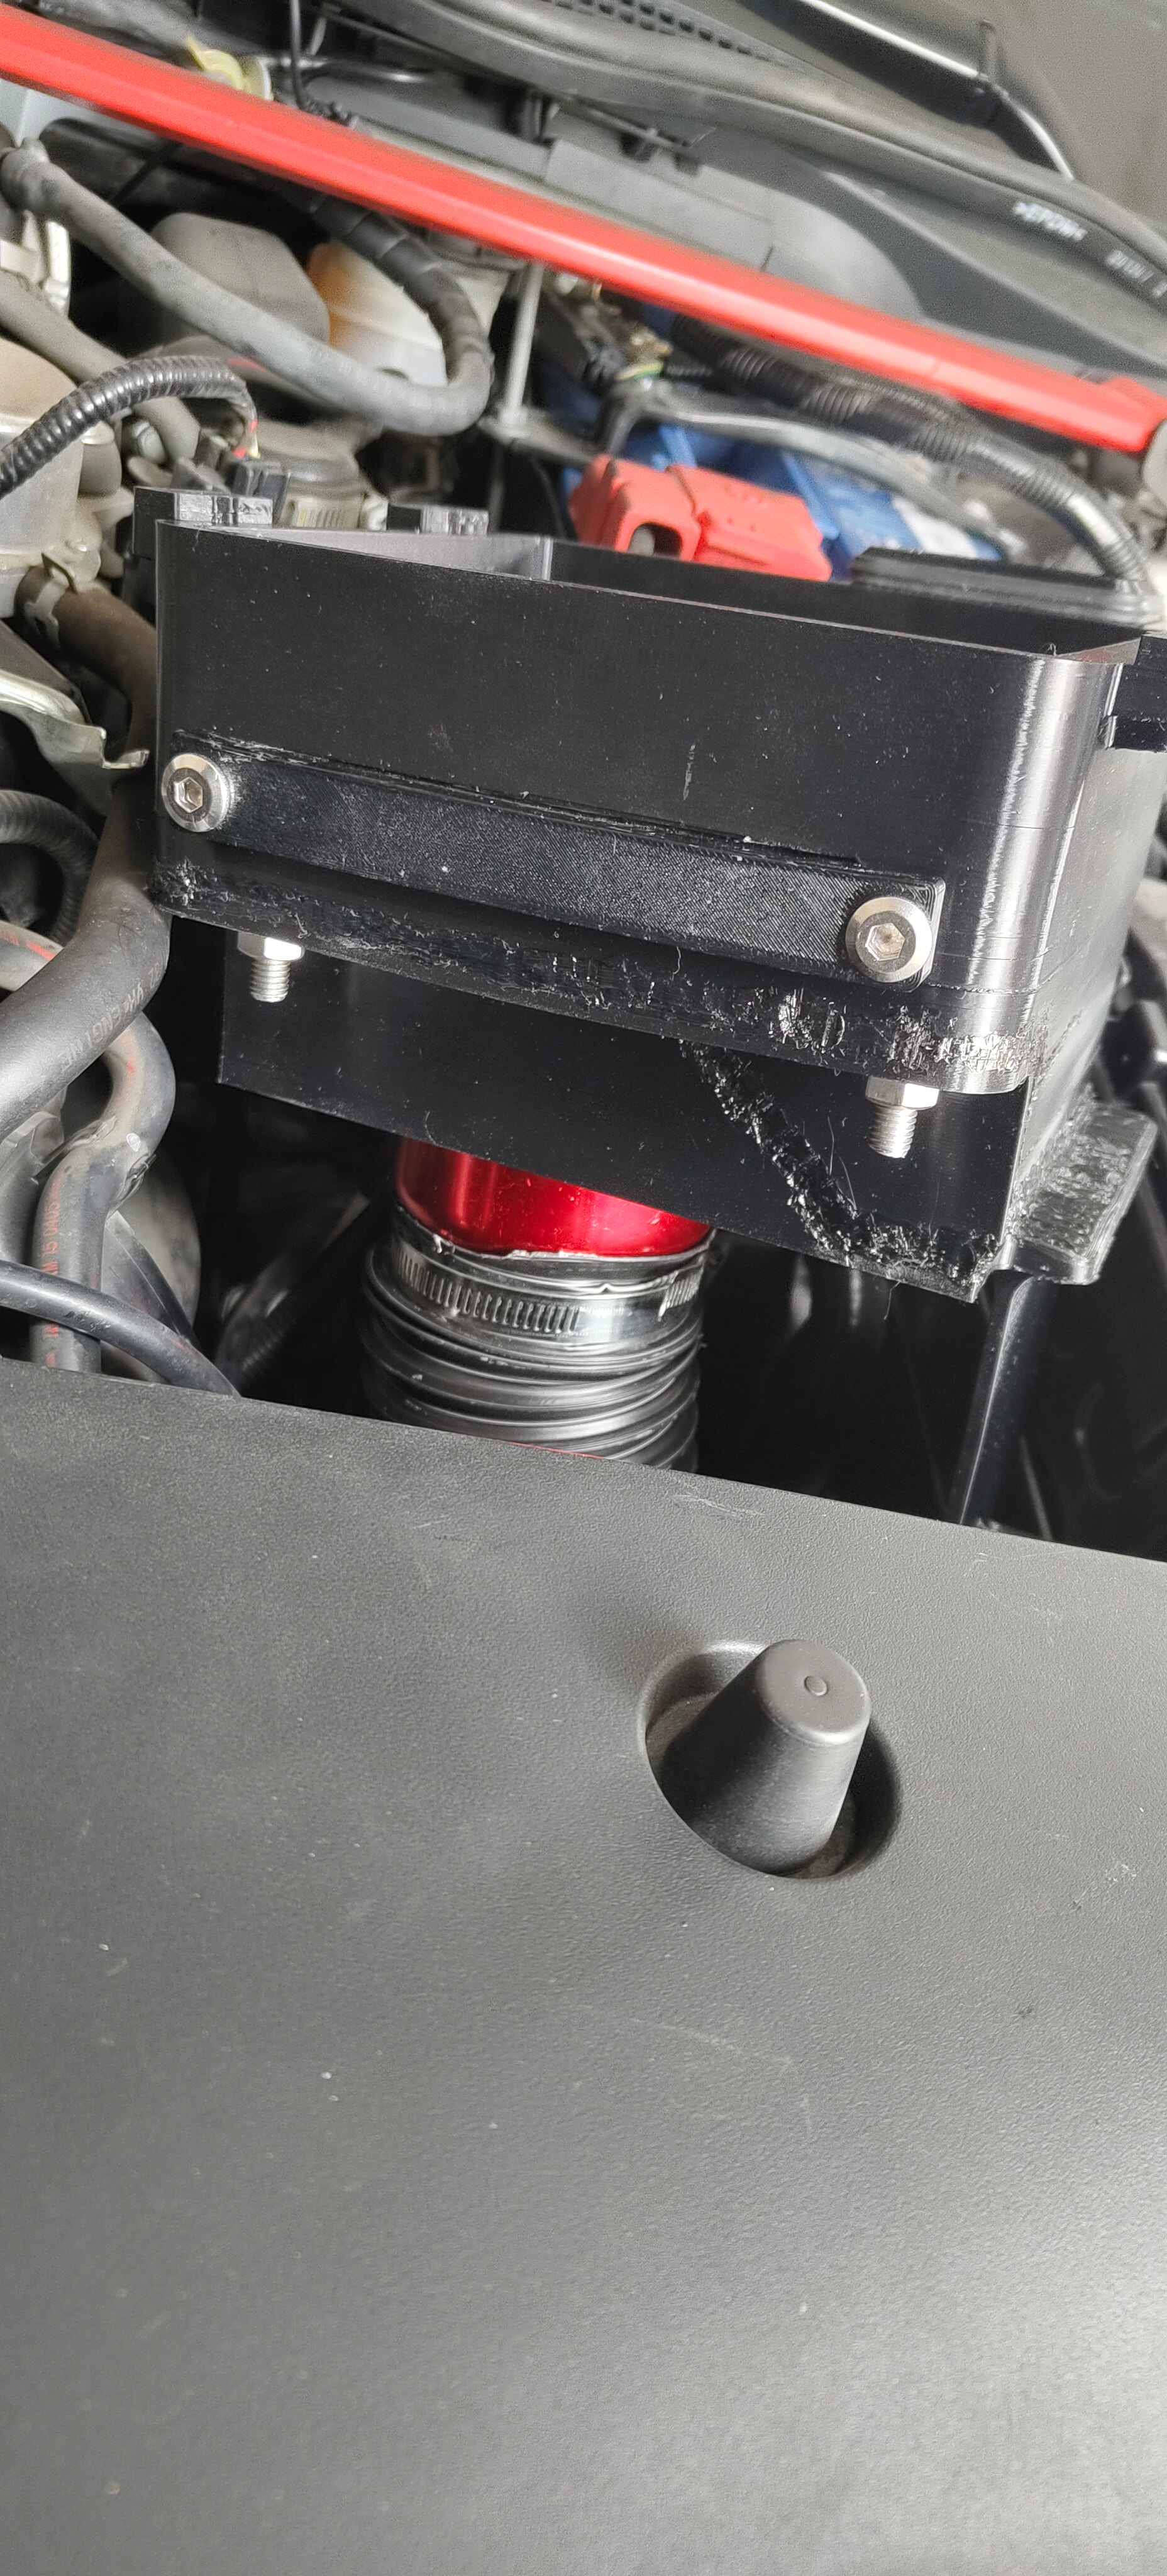
Today I did a second test, as the length measurements on the first one were off. I can confirm that, this time, both mounting points line up:

Even so, I’ve changed a few things in the next revision. I’ve completely removed a rubber support at the bottom that would act as a 3rd support of sorts.

Also, I’ve reduced the height of the box at the front, because the intercooler pipe rubs against it.

Tomorrow I’ll design the fog light air intake and a ā€œplenumā€ to merge both air intakes into one without creating turbulence; I’ll also create the opening for the front suction intake on the grille, which will be the last thing I tackle.

When I have a few days, I plan to disassemble the lower resonator box to make more room for the plenum and pipes, and also to see how it’s attached to check if I can use any original mounts for the plenum without any issues… we’ll see, haha.

And lastly, I was originally thinking of making it in ABS, but being so close to the engine… I’m a bit nervous about that. So I’ll finally do it in ASA, which handles high temperatures better. I’m also not sure whether to make it in one piece or in 4 like it was originally… I have to weigh everything up properly :grin:

@Morrillu_bot and @Morrillu, what do you think of this project?

3 Likes

I’m so jealous you can use the design software like that. Two points. Add a drain like in the original. And then here

I would only have it take air from the blue one; the others will just let more dirt in.

1 Like

I’m interested; if the sound improves, it’s more than welcome. One thing I noticed is your strut bar on the 1.0—what brand is it? Do you notice any significant improvement?

1 Like

The strut bar is Hardrace brand, but I’ve painted it red. Regarding the improvement, ā€œyes,ā€ but if you want a real improvement, check out the post by Mr. Rigid @Morrillu, where you can see how he’s turning his car from an average boat into a perfectly balanced board haha.

1 Like

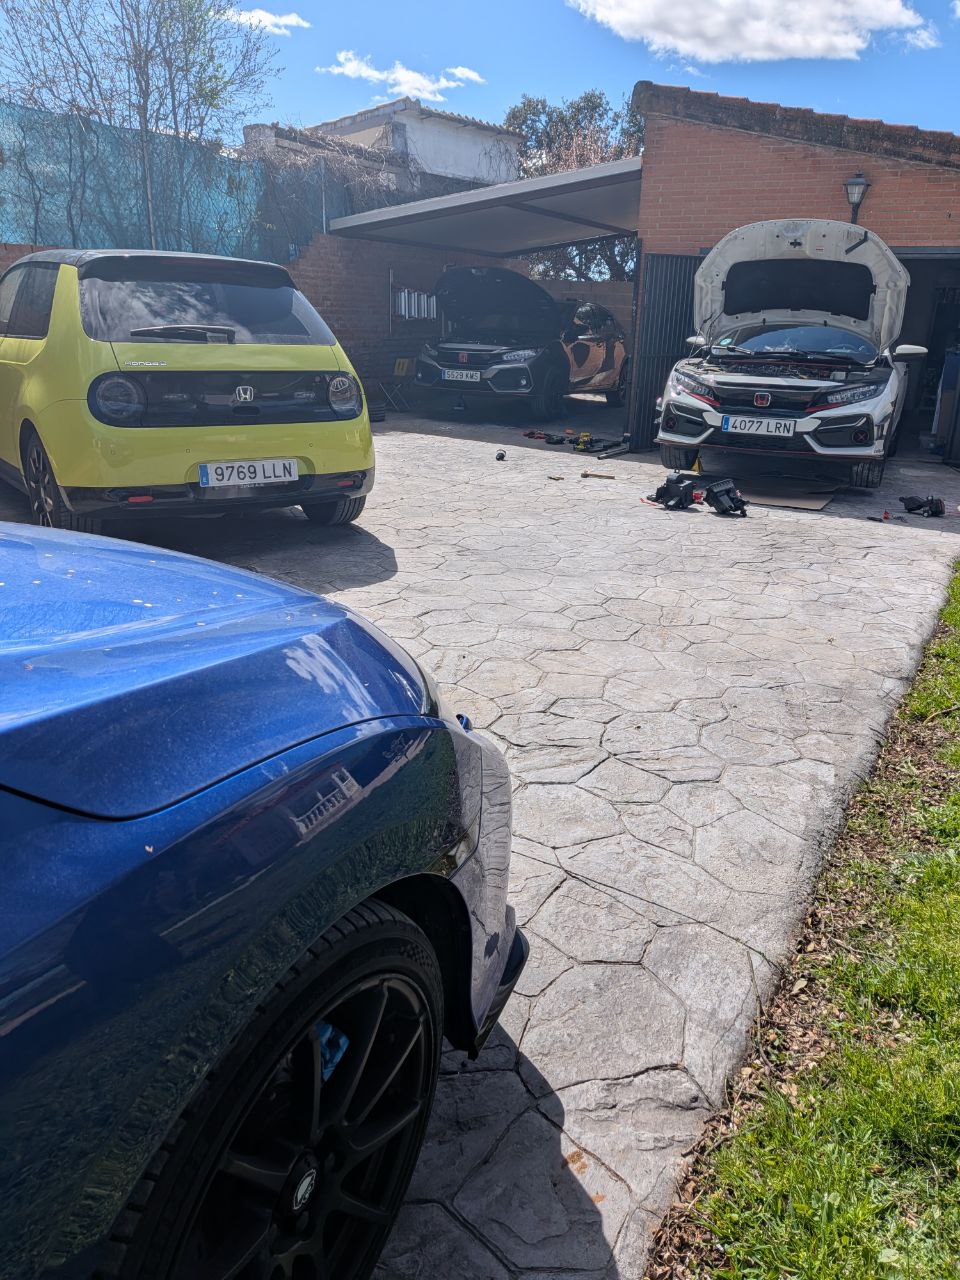
Well, after a day of some proper tuning (image attached)

I’ve finally managed to fit the first pipe that’s going to be connected to the intake through the driver’s side fog light, since there was very little room on the passenger side and the pipe was too thick :hot_face: and it just wouldn’t fit… the other option would be to get a smaller pipe and use a reducer, but I’m feeling lazy haha.

I’m waiting for the ASA material to arrive, which is what I think is most suitable for this… we’ll see. As soon as I have it, I’ll get started on the final intake.

Thanks to @jotafermar @kytos and @Sirone for joining me on today’s adventure <3

7 Likes

Hooray for the snails! :snail:

1 Like

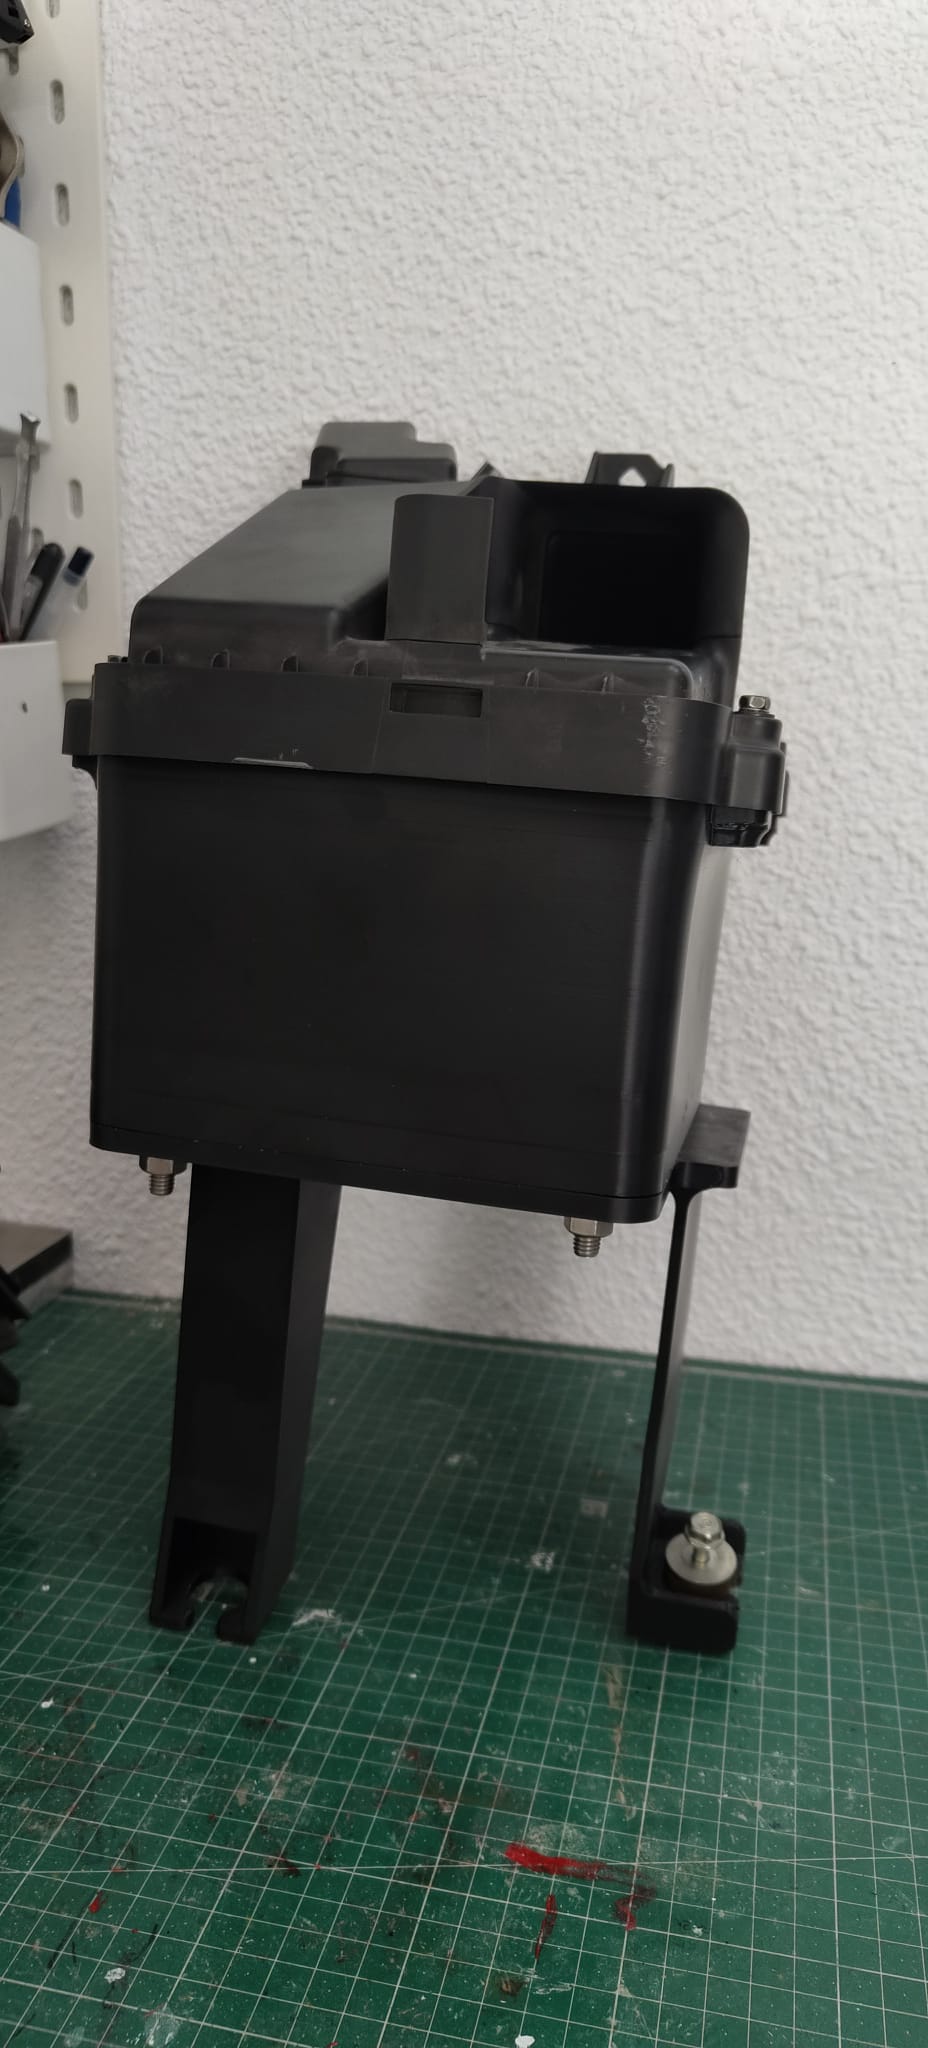
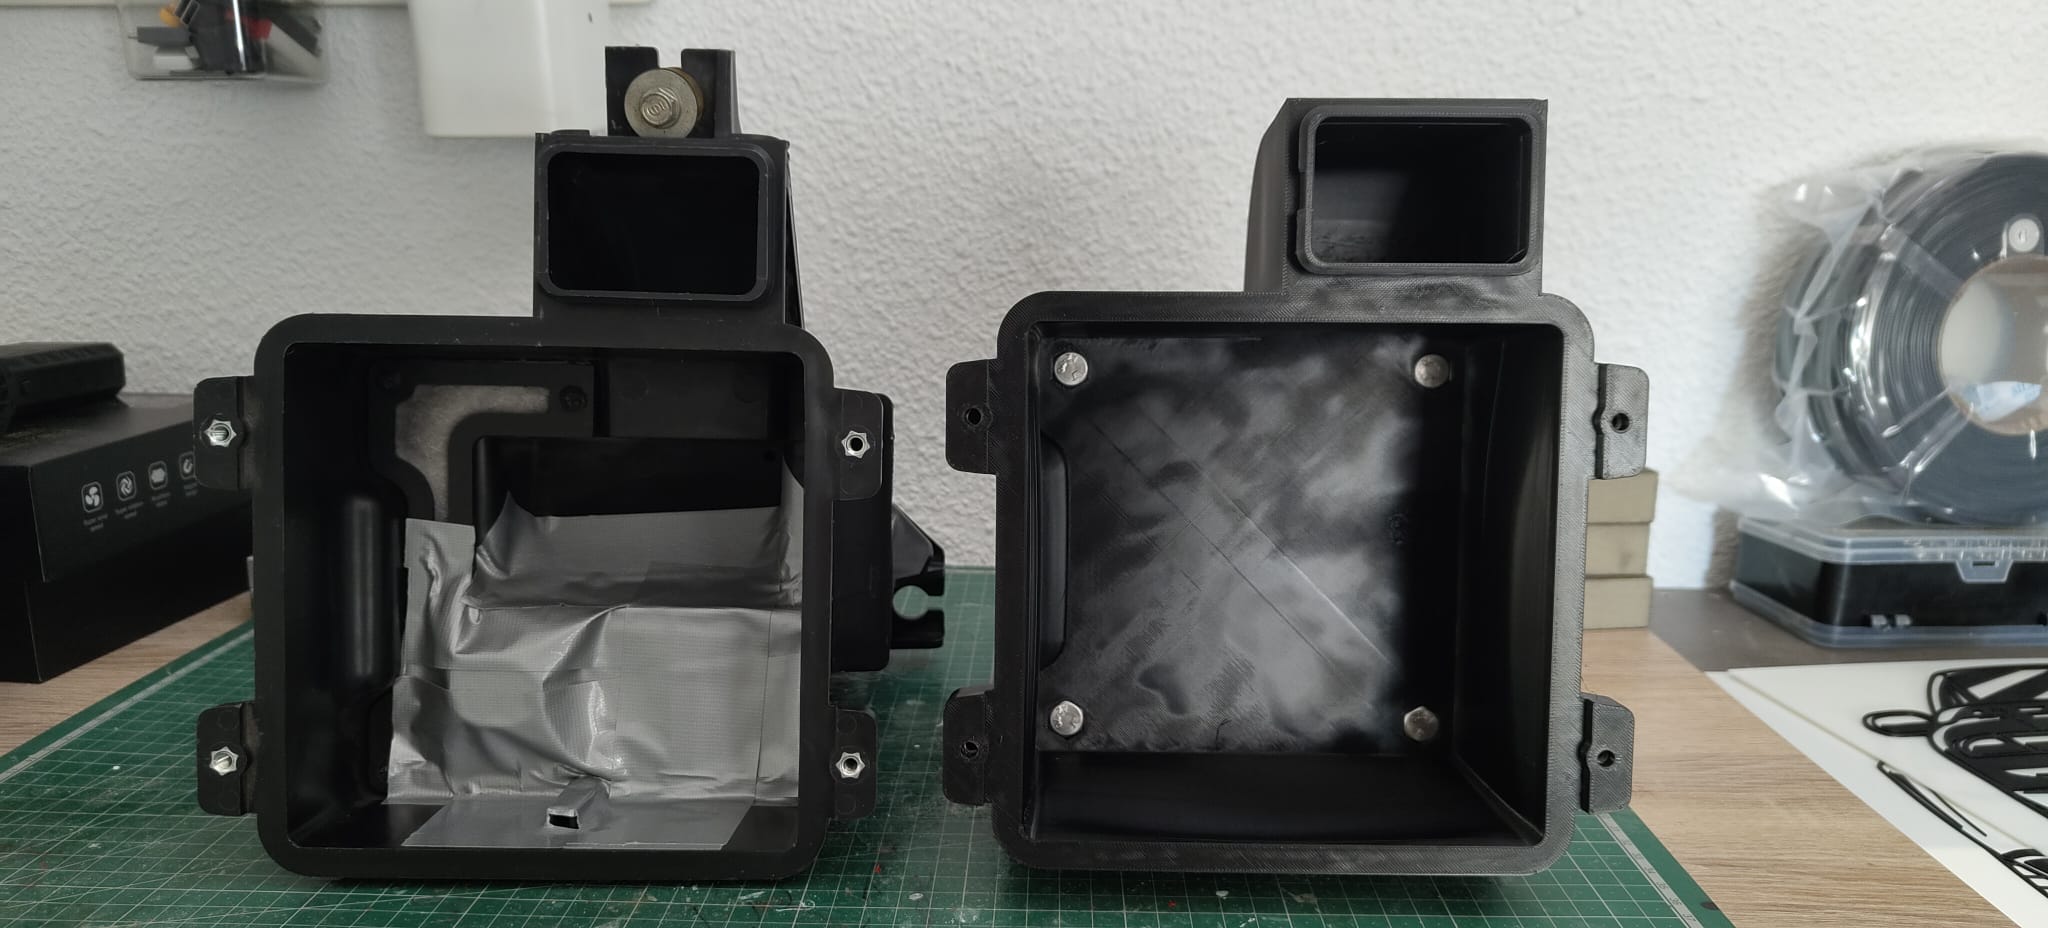
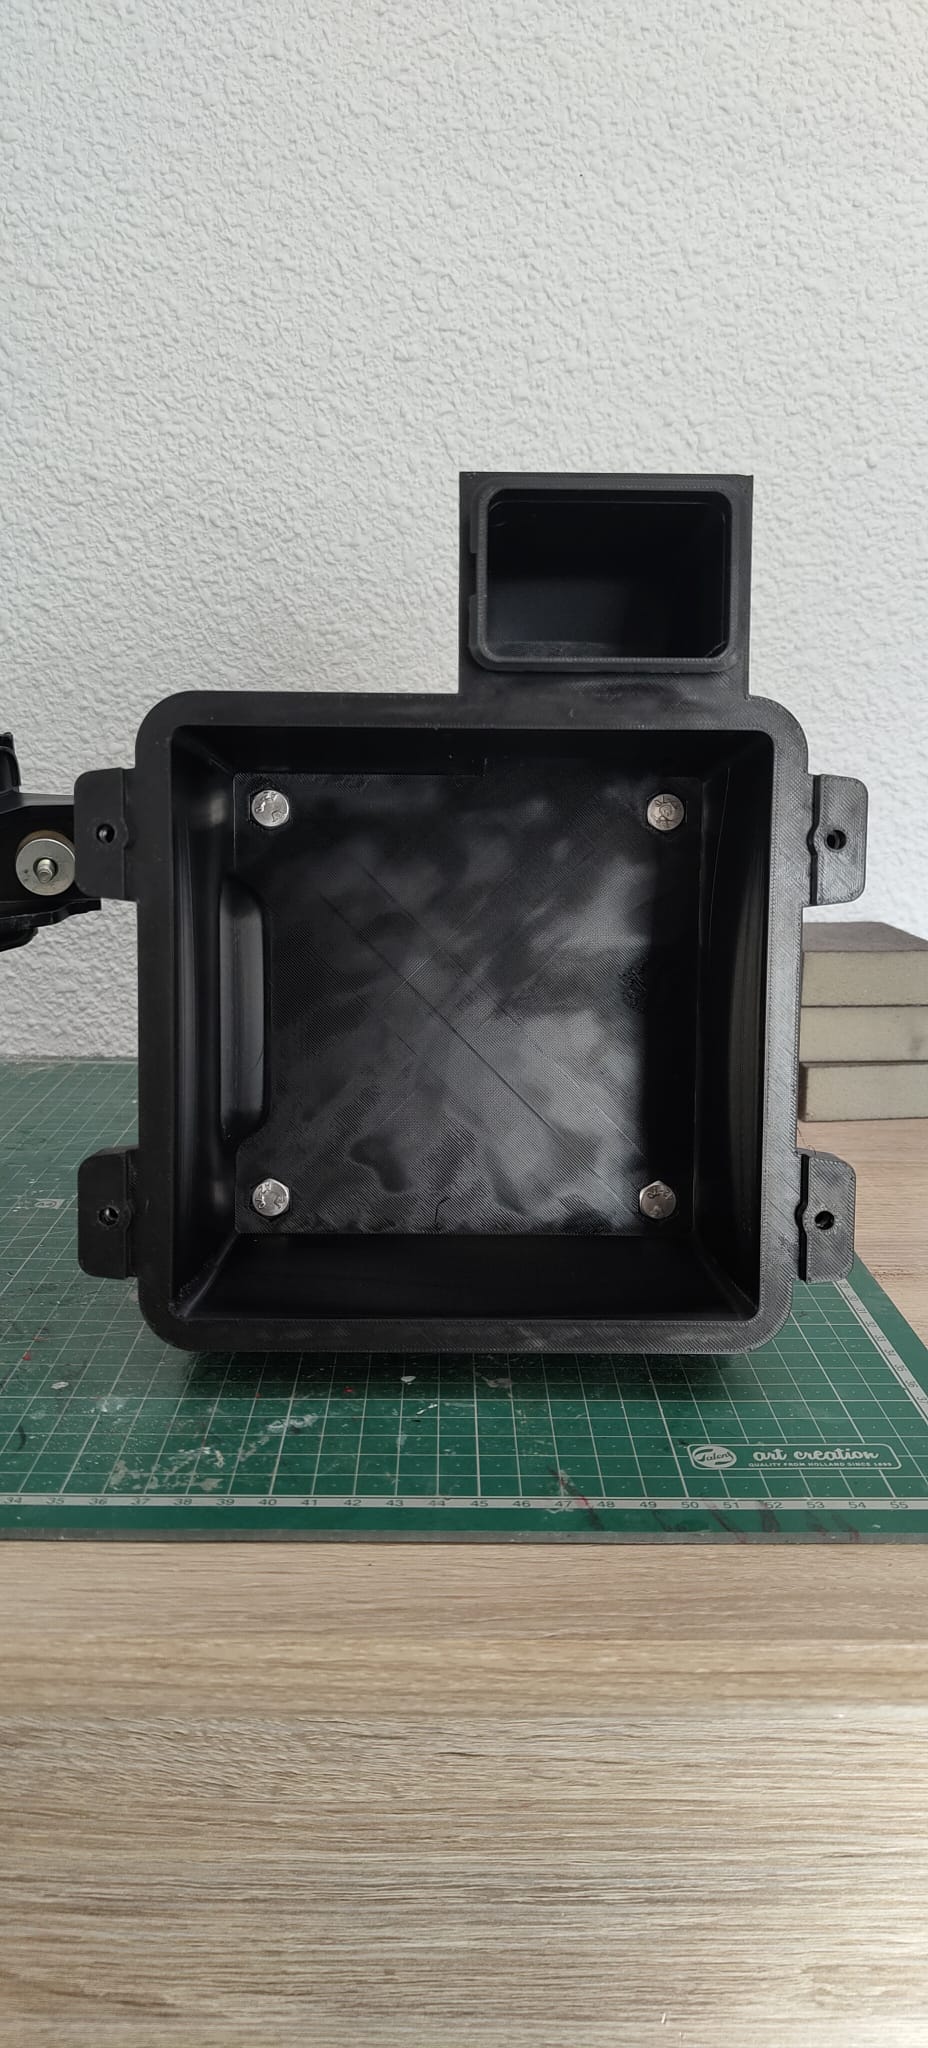
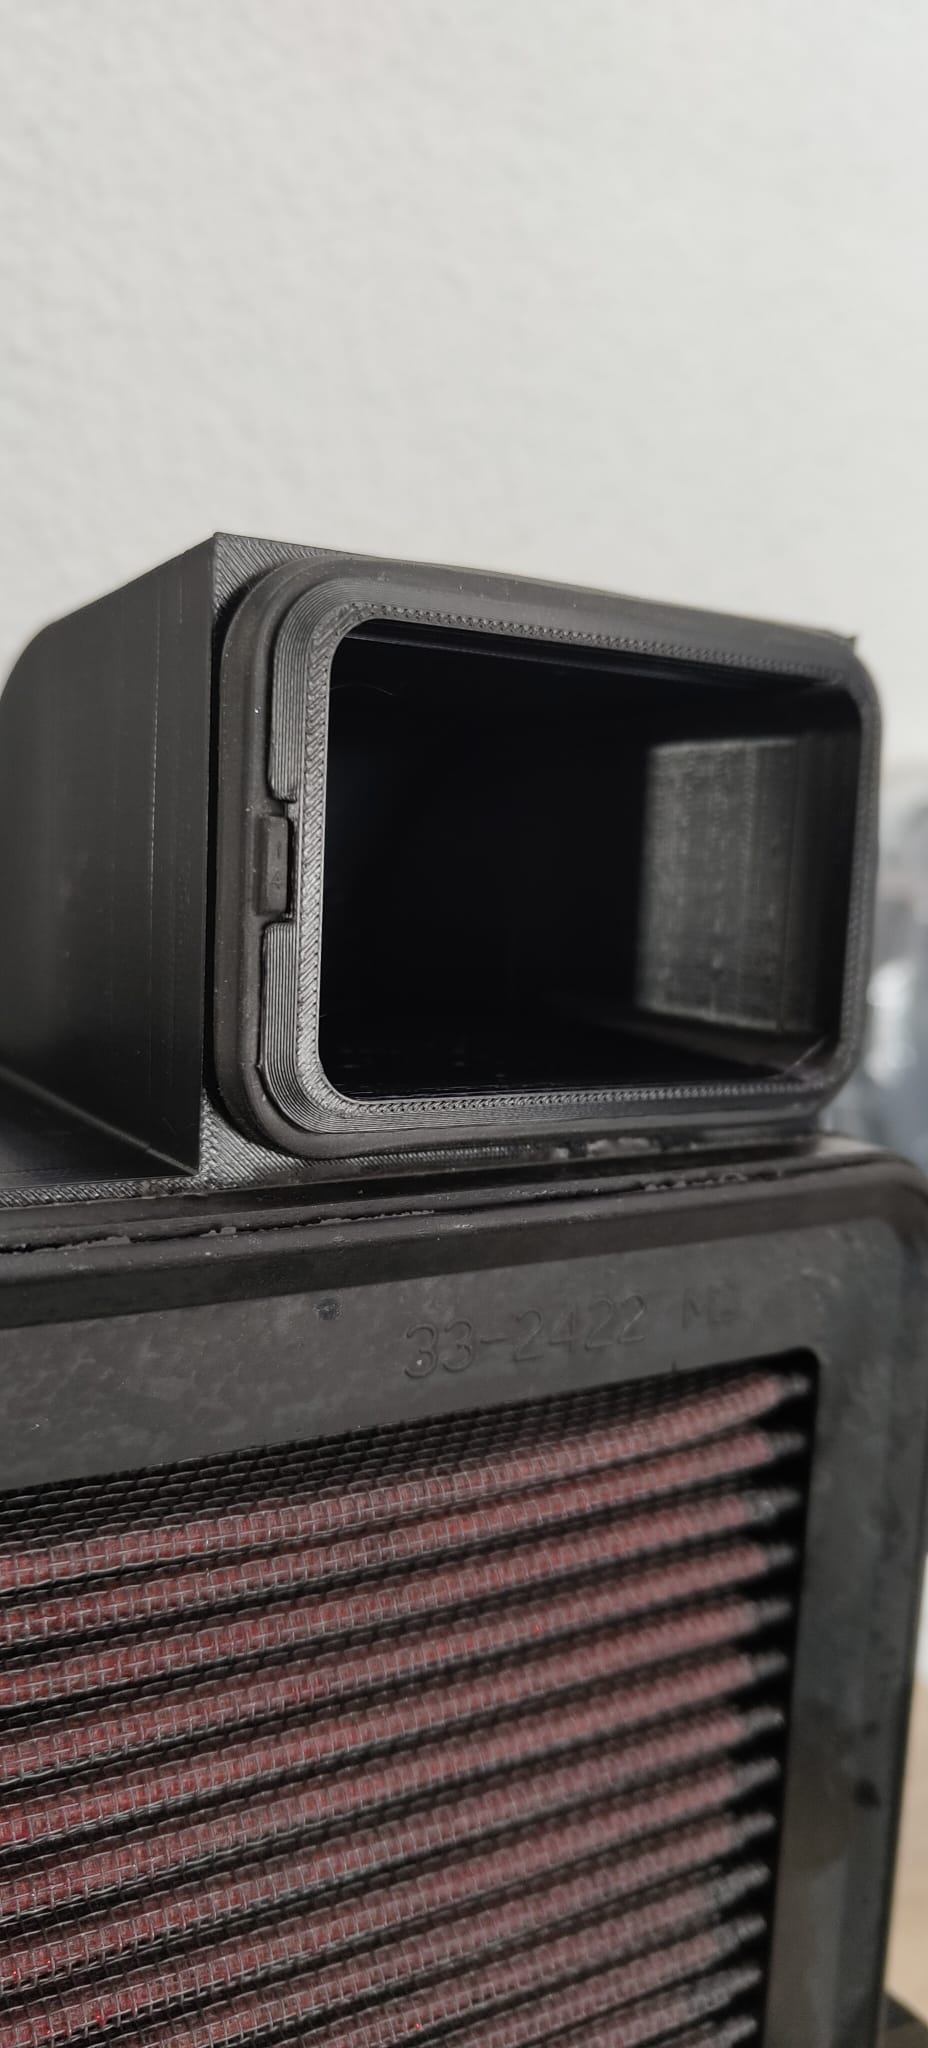
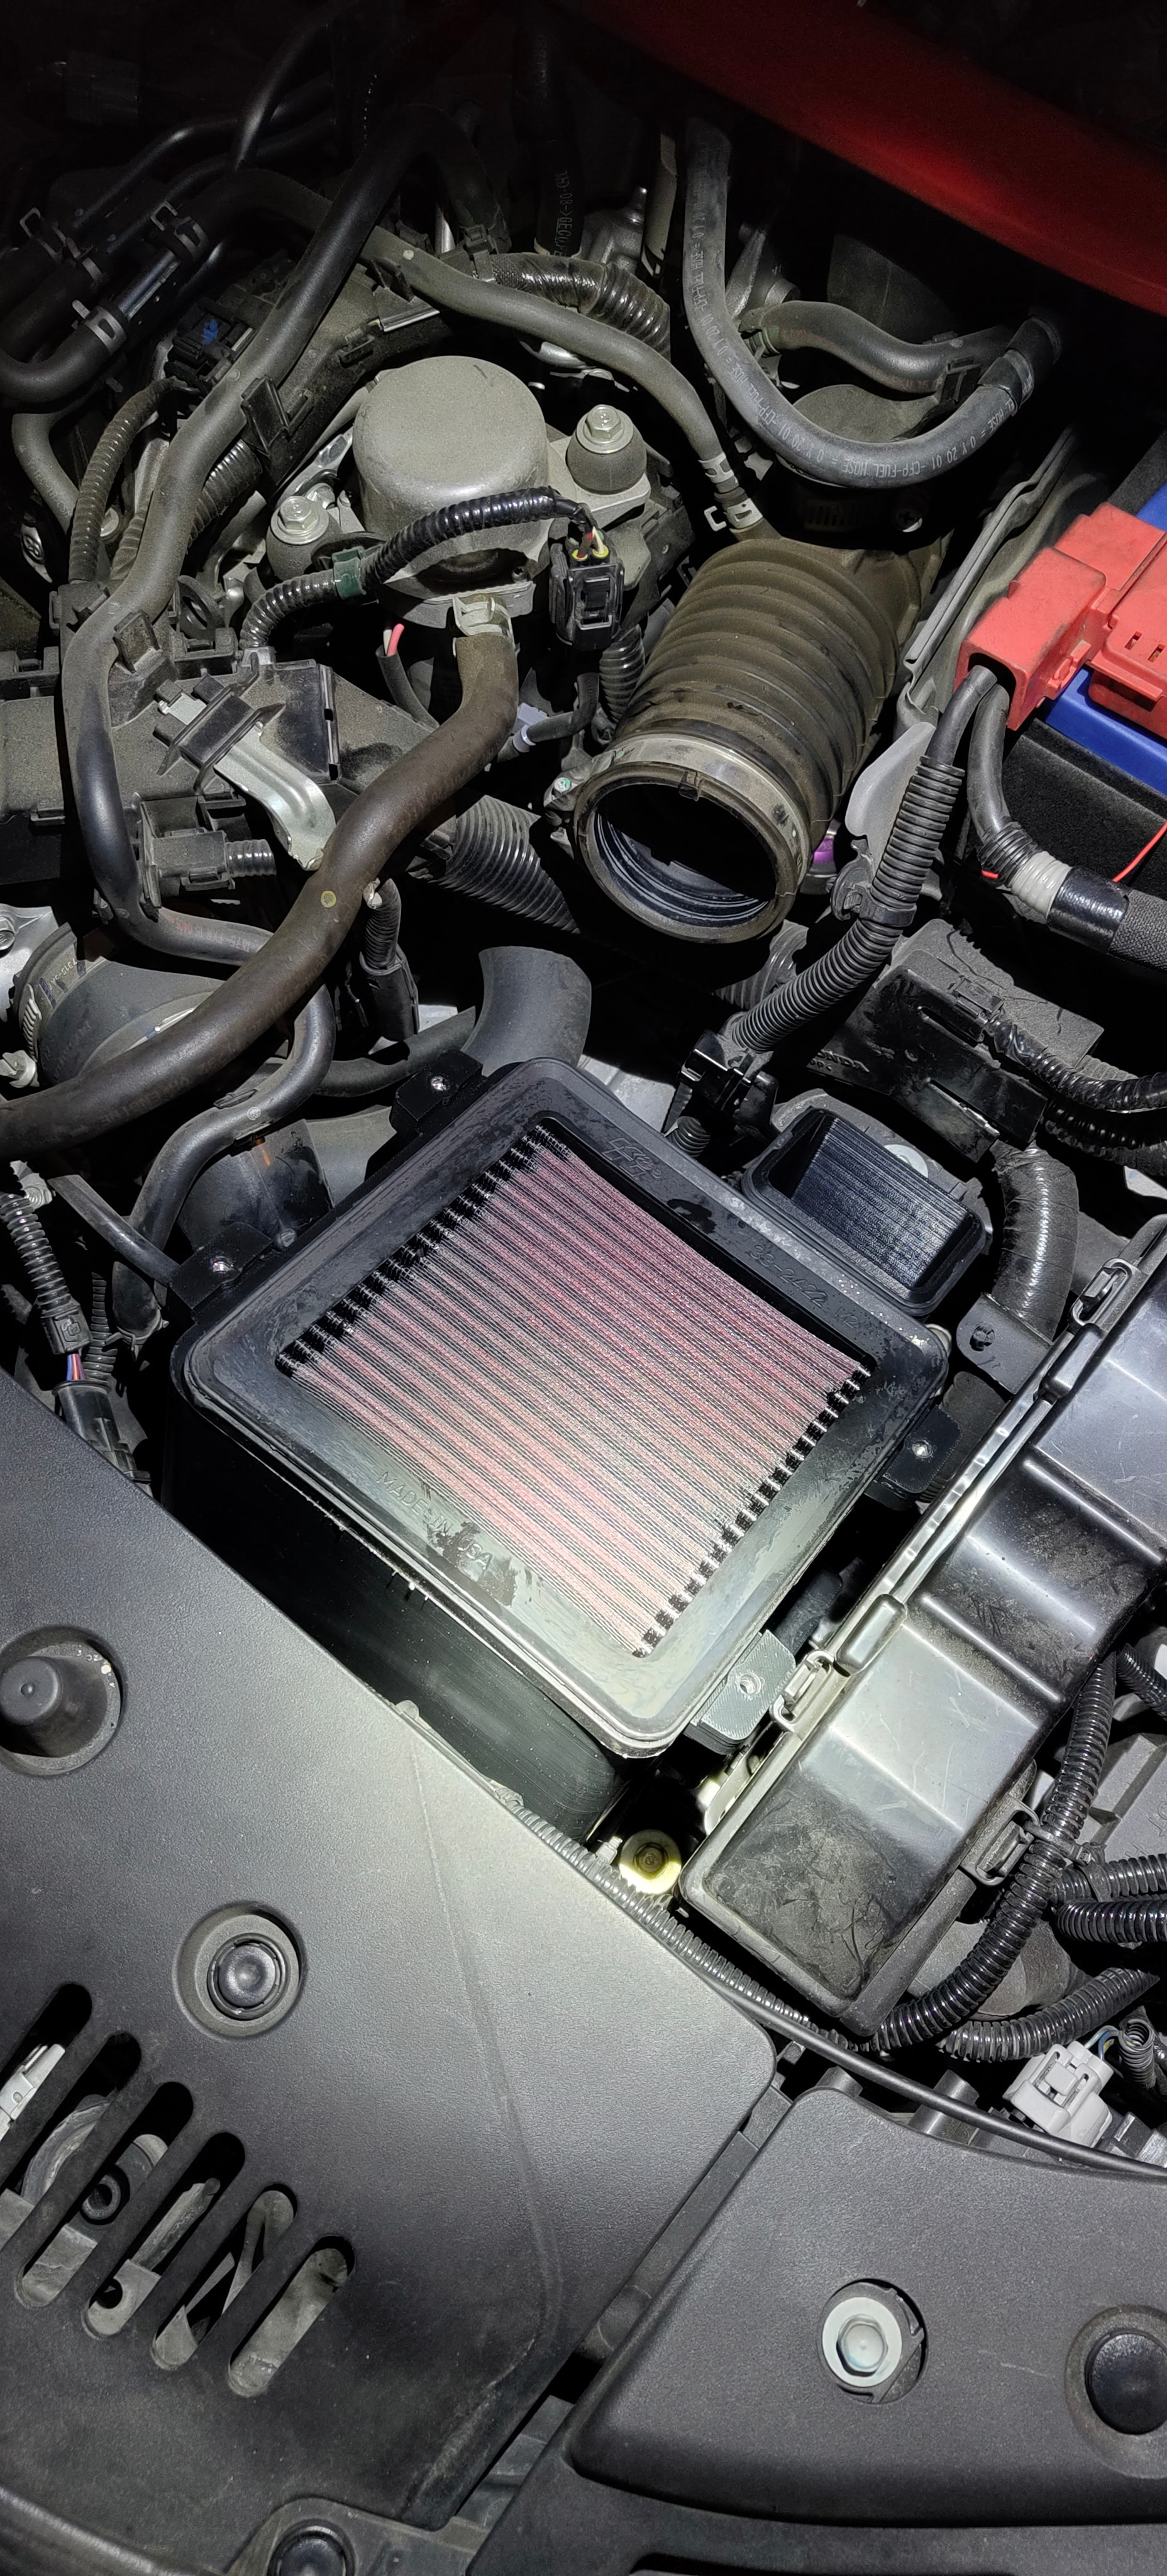
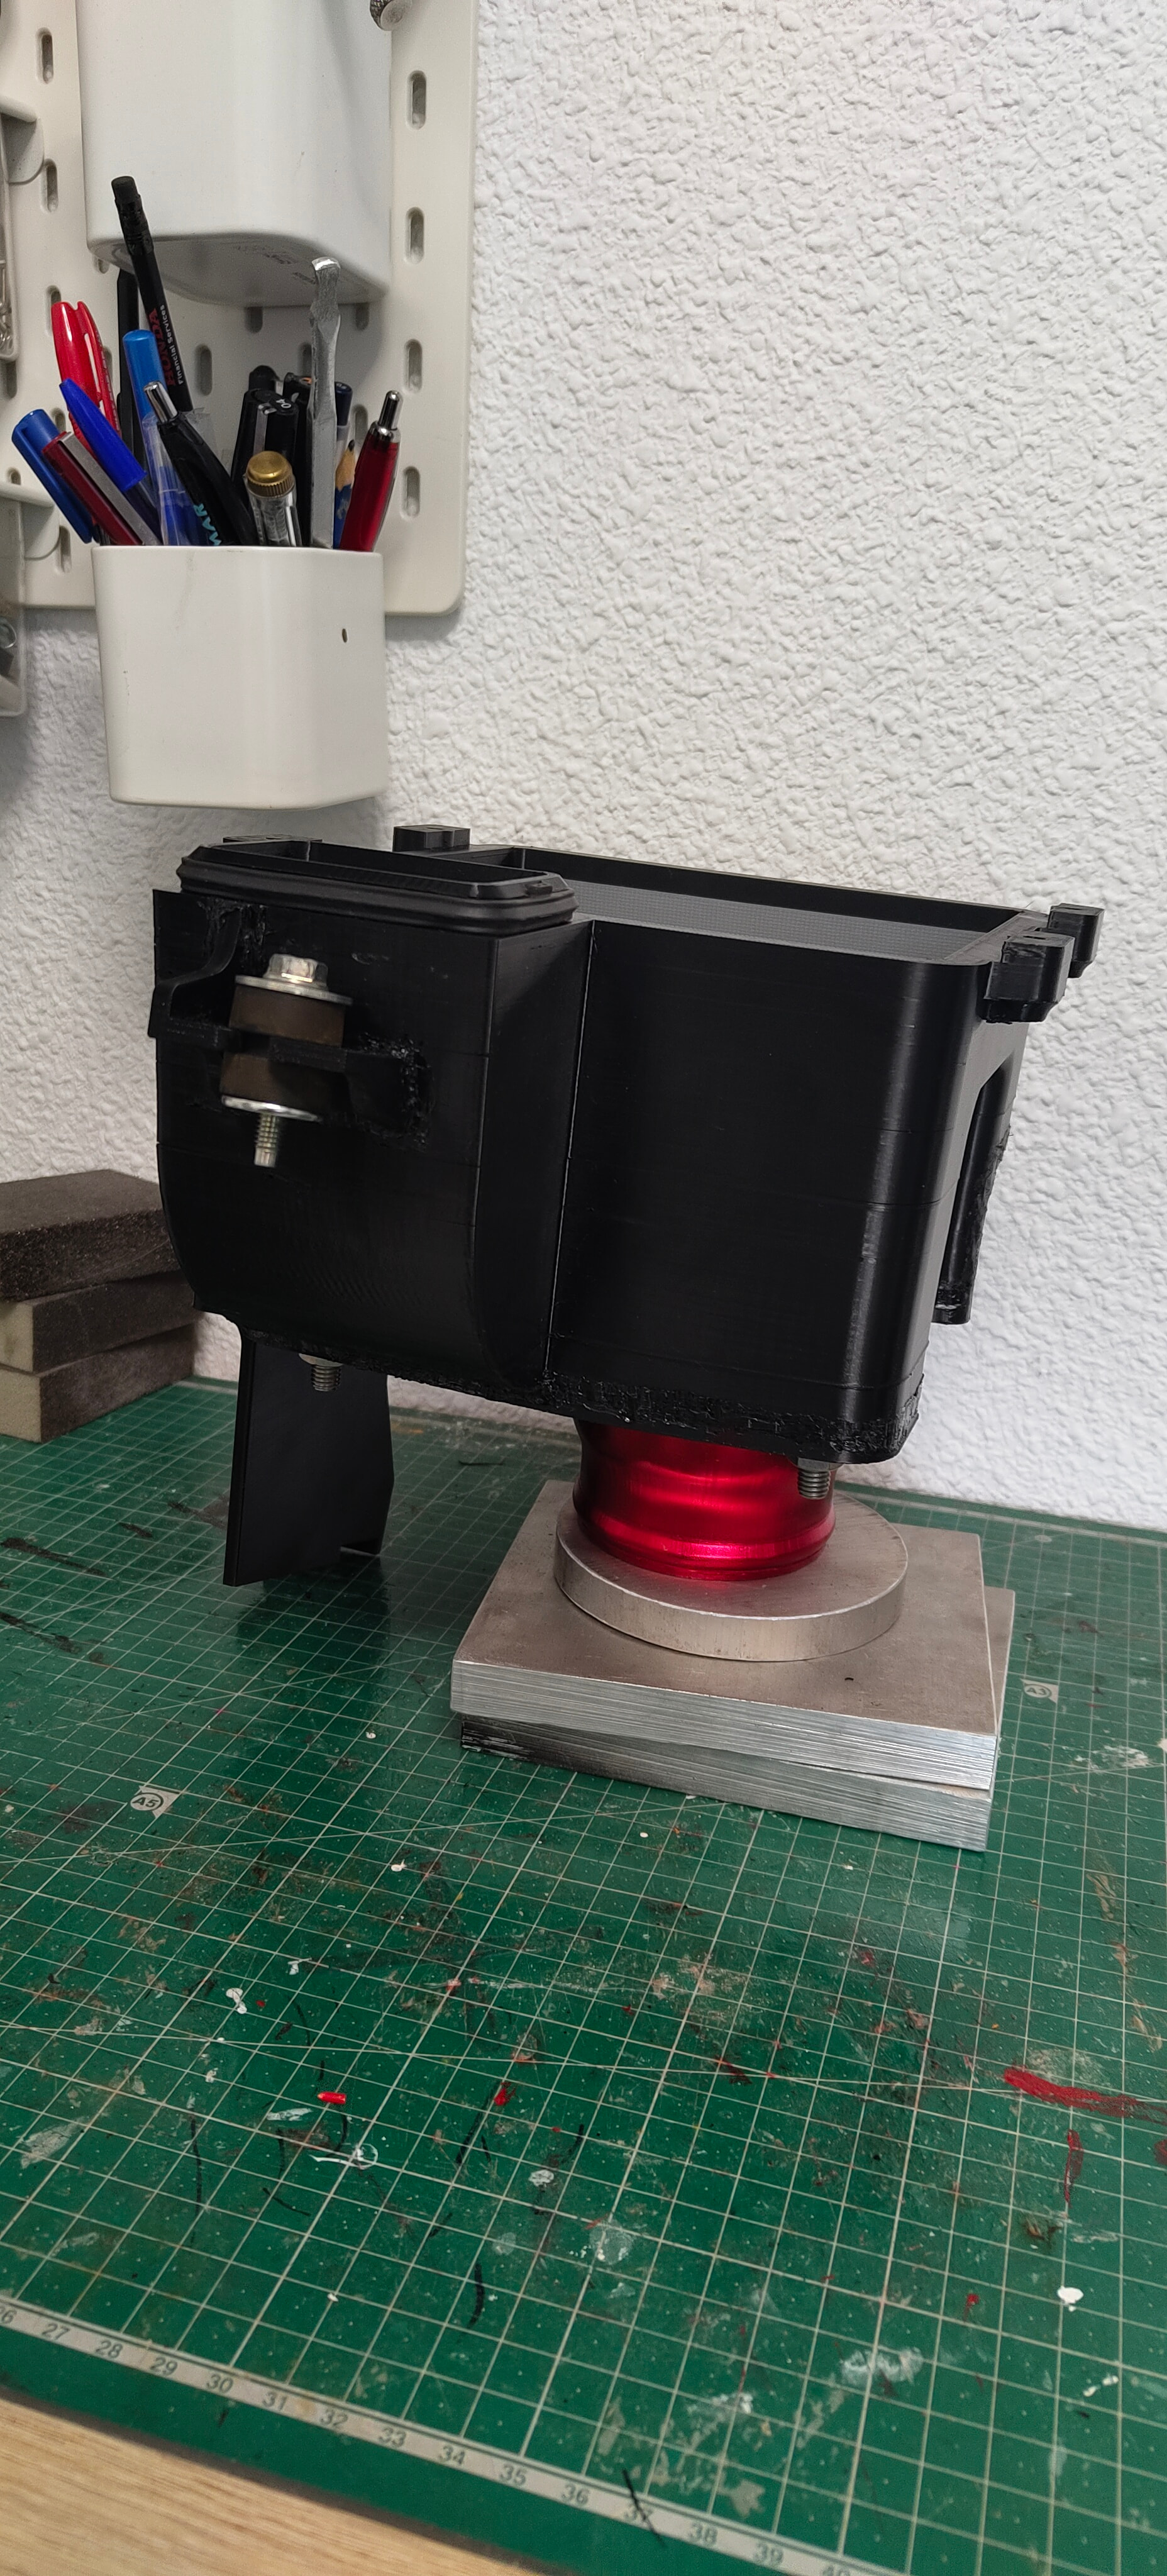
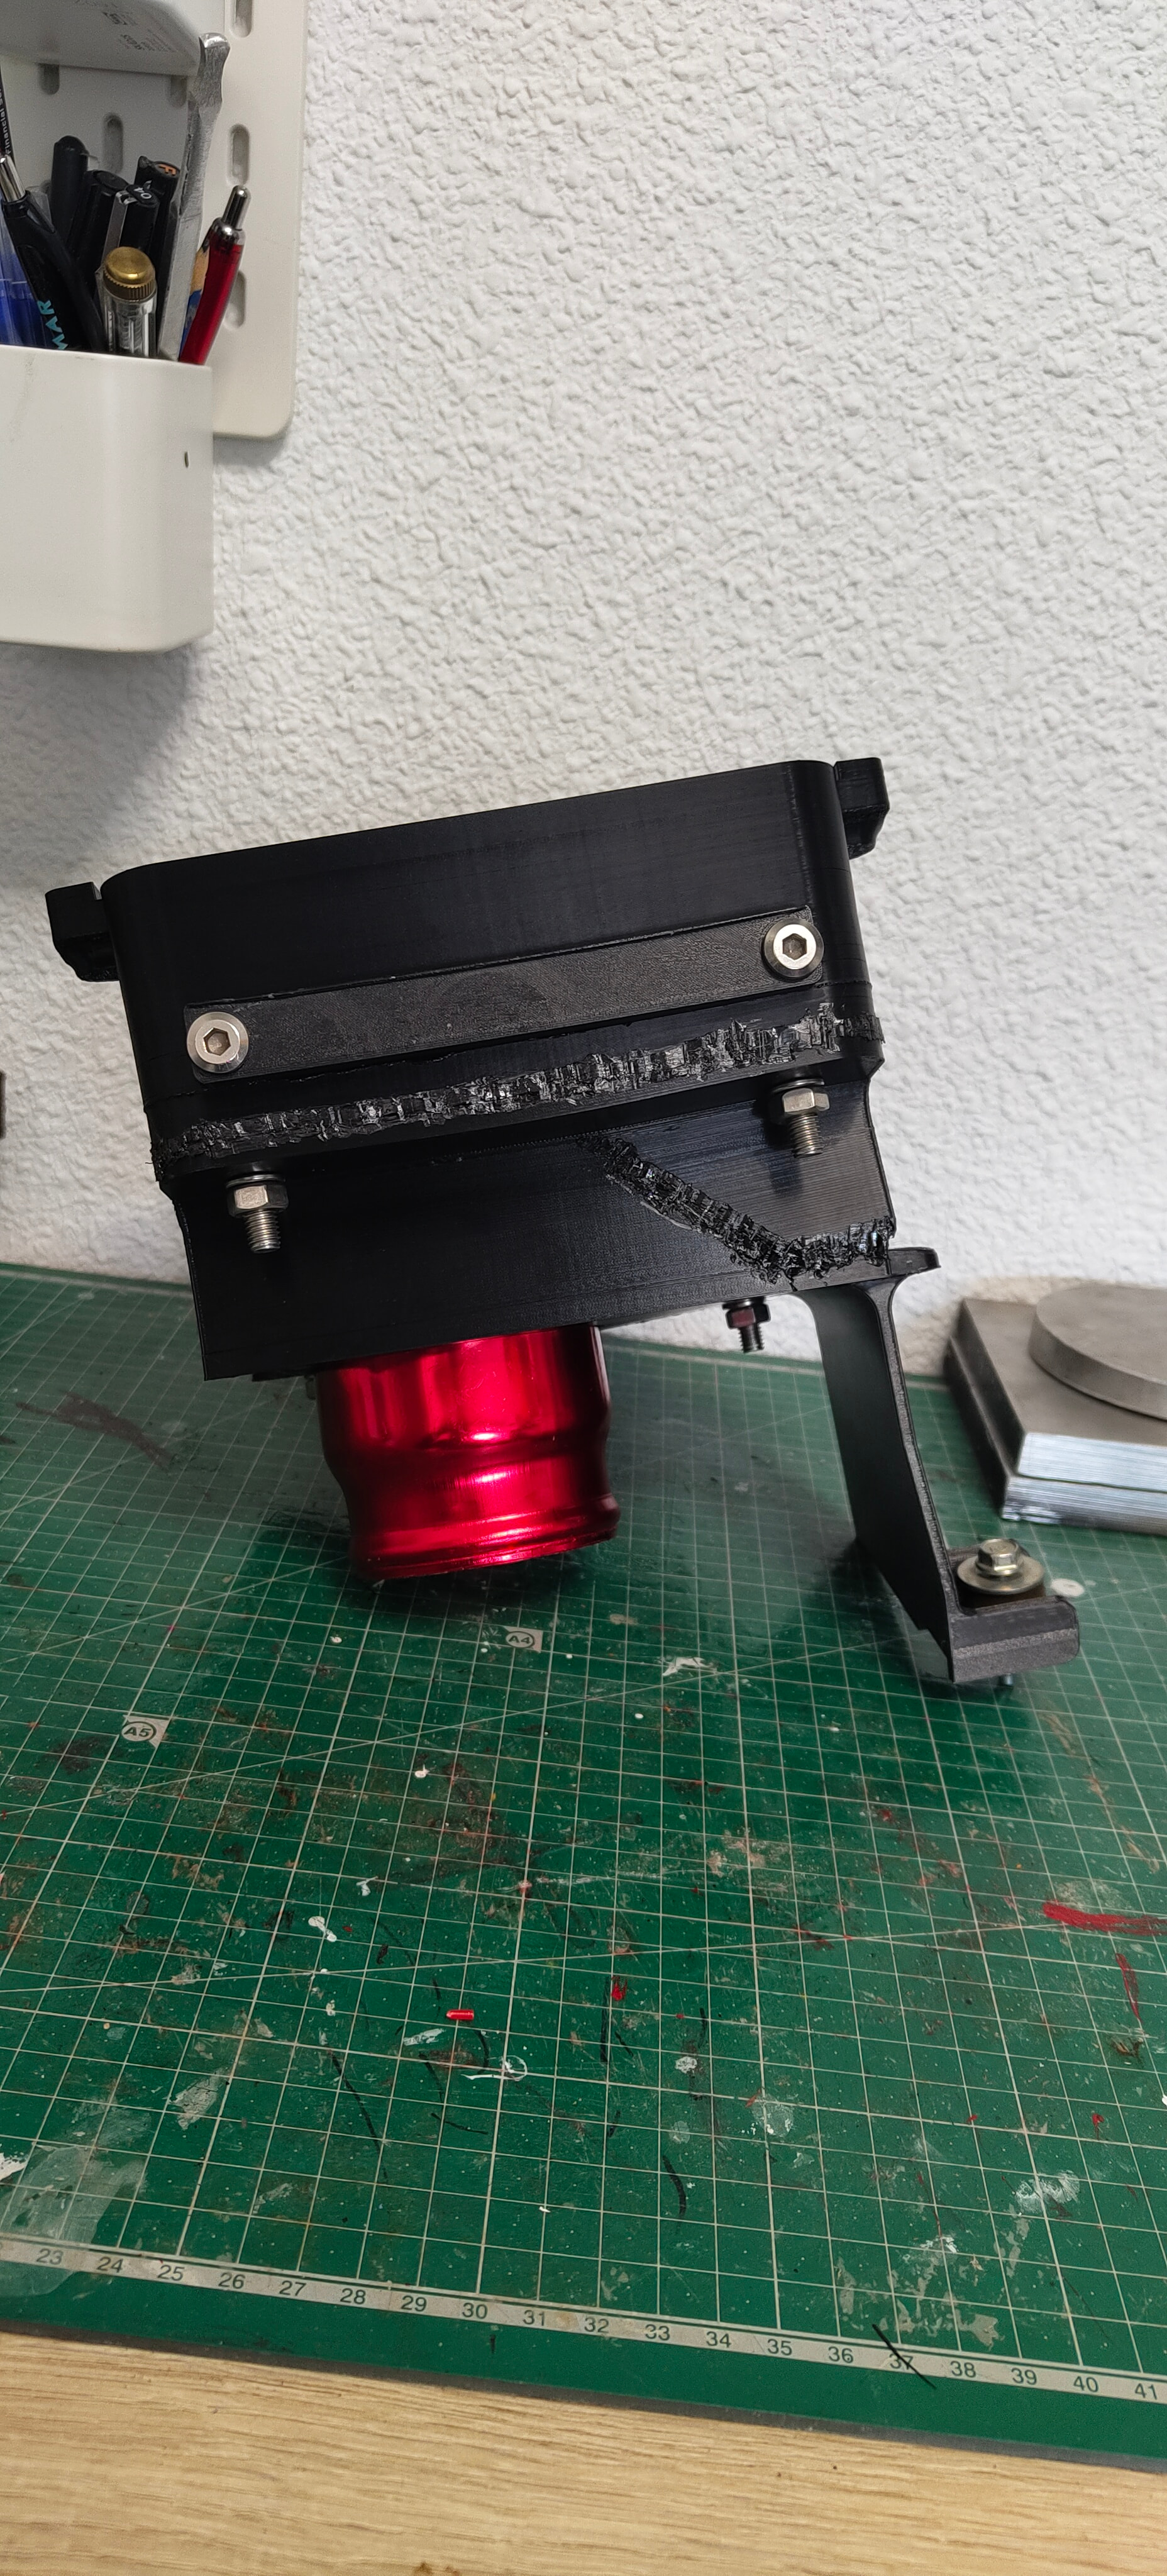
Well, we finally have an intake :grin:

It’s not a ā€œfineā€ quality job, but functionally it works.

As I said, the intake consists of 4 pieces + 1 that is currently acting as a plug to continue the project in the future.

The pieces are entirely polycarbonate, printed with my X1 Carbon. The problem is that it’s a very finicky material and very complicated to work with, which is why it ended up looking so ugly, with so many cracks and so on… the solution for that was simple: I was welding the polycarbonate with strands of the same polycarbonate material to turn the 4 pieces into a single, inseparable unit… mind you, welding that much polycarbonate I think I got a bit of a buzz from the fumes :melting_face: oh well. Originally I was going to use ABS or ASA instead of polycarbonate, but since the latter has better thermal and chemical properties, I didn’t want to risk it too much.

The point is, I’ve already been testing it; yesterday I did 200 kilometers without any issues. The car feels slightly (very slightly) better in terms of response—which could just be the placebo effect, yeah—but it’s true that I feel that with a little more air coming in, some of the ā€œlagā€ when flooring it in the 1.0 has been eliminated… so that’s a plus.

Once I got home, I took the intake apart again and checked for any deformation, new cracks, and so on, and nothing… looks like it’s staying there to handle whatever is thrown at it, haha.

One thing that actually surprised me quite a bit and has improved is the sound. Just like when you switch from the OEM filter to a K&N and you start hearing a ā€œPssssā€ that gives you a nice little thrill, with this, the ā€œPssssā€ is a bit more noticeable and, on top of that, it also sounds when you rev it while stationary, which didn’t happen before with the filter and everything.

Conclusion: Was it worth it? ā€œYes.ā€ In the end, I do this to experiment, because I’m bored, and because I can and want to. But it’s not something profitable to, for example, sell to other people (at least not in polycarbonate). As I said, I left a ā€œplugā€ piece with a couple of screws; my idea is that when inspiration strikes again, I’ll continue improving the intake air inlet through that gap by pulling it from the front grille, so it won’t just be exclusive to my 1.0 and can be something standard for everyone.

I’ll keep updating with improvements…

3 Likes

Oof, that sound! Do you have an exhaust on it or is it stock?

1 Like

I’ve had the exhaust done, both the mid-section and the rear, Duramas :grin:

1 Like

I’d like to do something like that to mine; the fact that it doesn’t make any noise at all isn’t cool.

1 Like

Can you send me some info on this? Since there are different models online and I don’t have any information regarding the Honda.

Wouldn’t the rear bumper need to be modified? I’m mentioning it because it’s hidden stock.

1 Like